
Build Your Own Bicycle Trailer
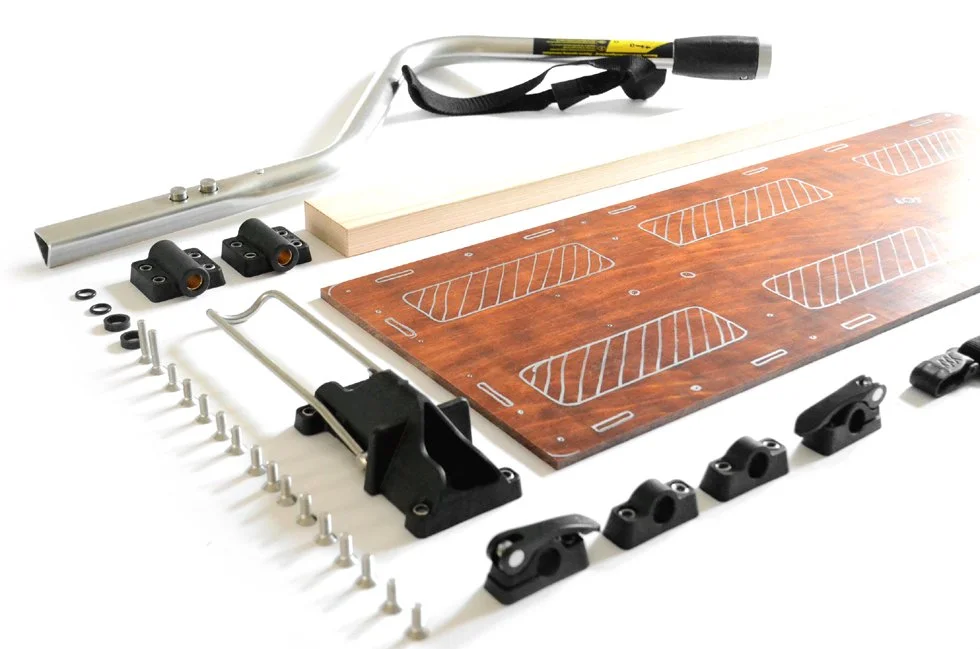
Building a bike trailer isn't rocket science, and it's fun. And you can build exactly the trailer you want—one that's the right size and has the features that suit you.
We’ve put together this comprehensive page so that you might consider using some of our parts when building your bike trailer. But aside from that, we’re happy to see every bike trailer out on the road, regardless of the manufacturer or the parts used. Bike trailers are a great addition to our bikes, and there are still far too few of them out there. So: Happy building!
Legal Notice
Anyone who builds or modifies a vehicle on their own bears full responsibility—for the design, assembly, road safety, and compliance with legal regulations (e.g., StVZO). To the extent permitted by law, we assume no liability for vehicles built by the customer. This does not affect our liability for willful misconduct and gross negligence, for damage to life, limb, and health, or under the Product Liability Act, nor does it affect the statutory warranty for defects in the parts we supply.
How big do you want your bike trailer to be?
Your Most Important Decision
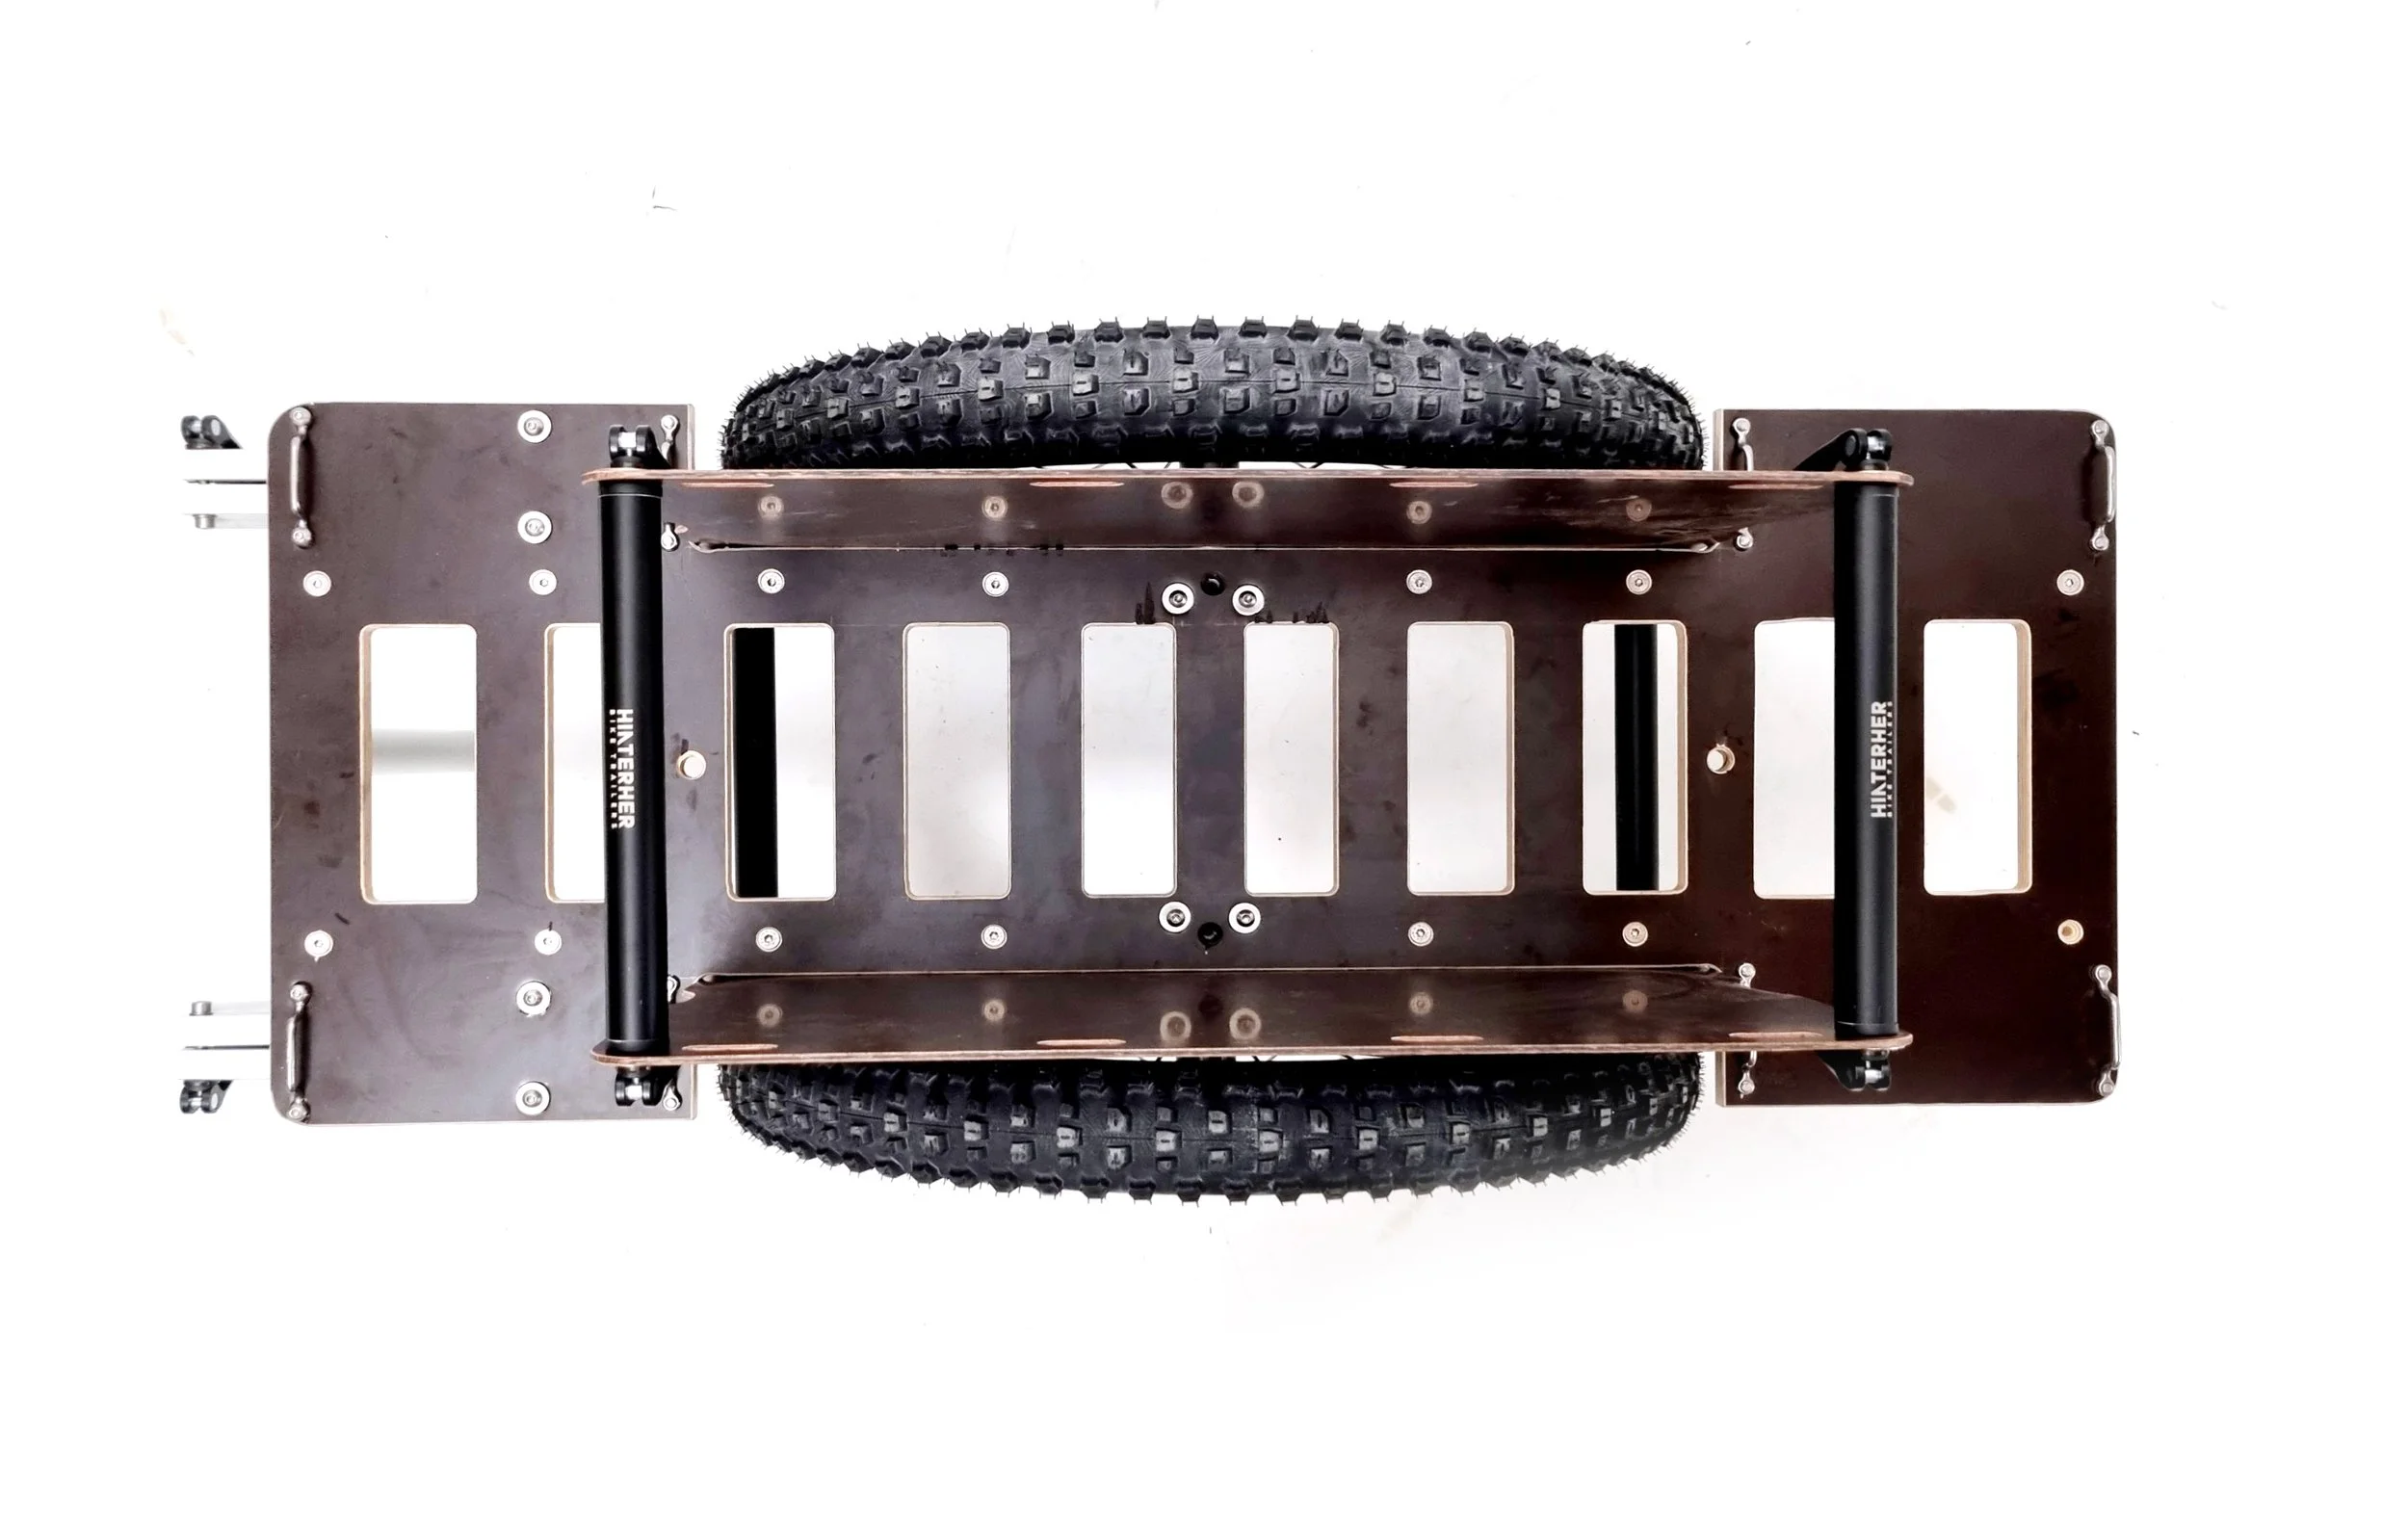
This is where it all starts. This is the most important decision—one you’ll only be able to change later with a saw and a lot of tinkering. Think about how big you want your trailer to be. Maybe you have specific boxes, tools, or equipment that absolutely need to fit on it? Or use our models as a guide and check out our loading simulator to see what fits on different trailer sizes. You can mark out your loading area on the ground and place the items you want to transport later on it. Keep this in mind: Don’t stack things too high—that’s bad for the trailer’s center of gravity and a sign that the area you’ve chosen is probably too small.
The width slows you down at first
By the way: When it comes to everyday usability, the length of a bike trailer is much less important than its width. That’s because you’re more likely to get stuck or caught between two bollards. That’s why, for example, we don’t make bike trailers that exceed a total width of 100 cm. If you can, keep it as narrow as possible.
First comes the box, then the trailer
If you’re interested in specific transport crates, design the cargo area of your homemade trailer around them. Great options include high-quality aluminum crates (lightweight, sturdy, waterproof, but unfortunately expensive) or Euro crates (60×40 cm base dimensions in various heights). We recommend the Euro crates from Auer.

What is the best material for building a bicycle trailer?
Screen printing plate
The best material for building bicycle trailers is a screen printing plate, which you can find at a hardware store or online. At least, that’s true for small to medium-sized trailers up to about 100 cm in length. Screen printing board is highly resistant to moisture and is also used as siding for car trailers. It’s very rigid and resistant to bending, and you can easily work with it using standard woodworking tools—plus, it’s not particularly expensive. Many hardware stores will even cut it to the right size for you on the spot, so all you have to do at home is round off the edges (i.e., smooth them with sandpaper or a file). We recommend a panel thickness of 18 mm or 21 mm, but you’ll find more details in the respective building instructions below.
Disadvantage: Weight
Although the screen printing plate is a truly excellent DIY material for bike trailers, it does, of course, have one drawback: its weight. With a large surface area, the weight can quickly add up, especially since large bicycle trailers also have to contend with greater torsional forces and therefore require thicker panels. That’s why, for larger bicycle trailers as well as bicycle caravans, we recommend aluminum square profiles and a thin screen printing panel as the top panel.
Aluminum Square Profiles
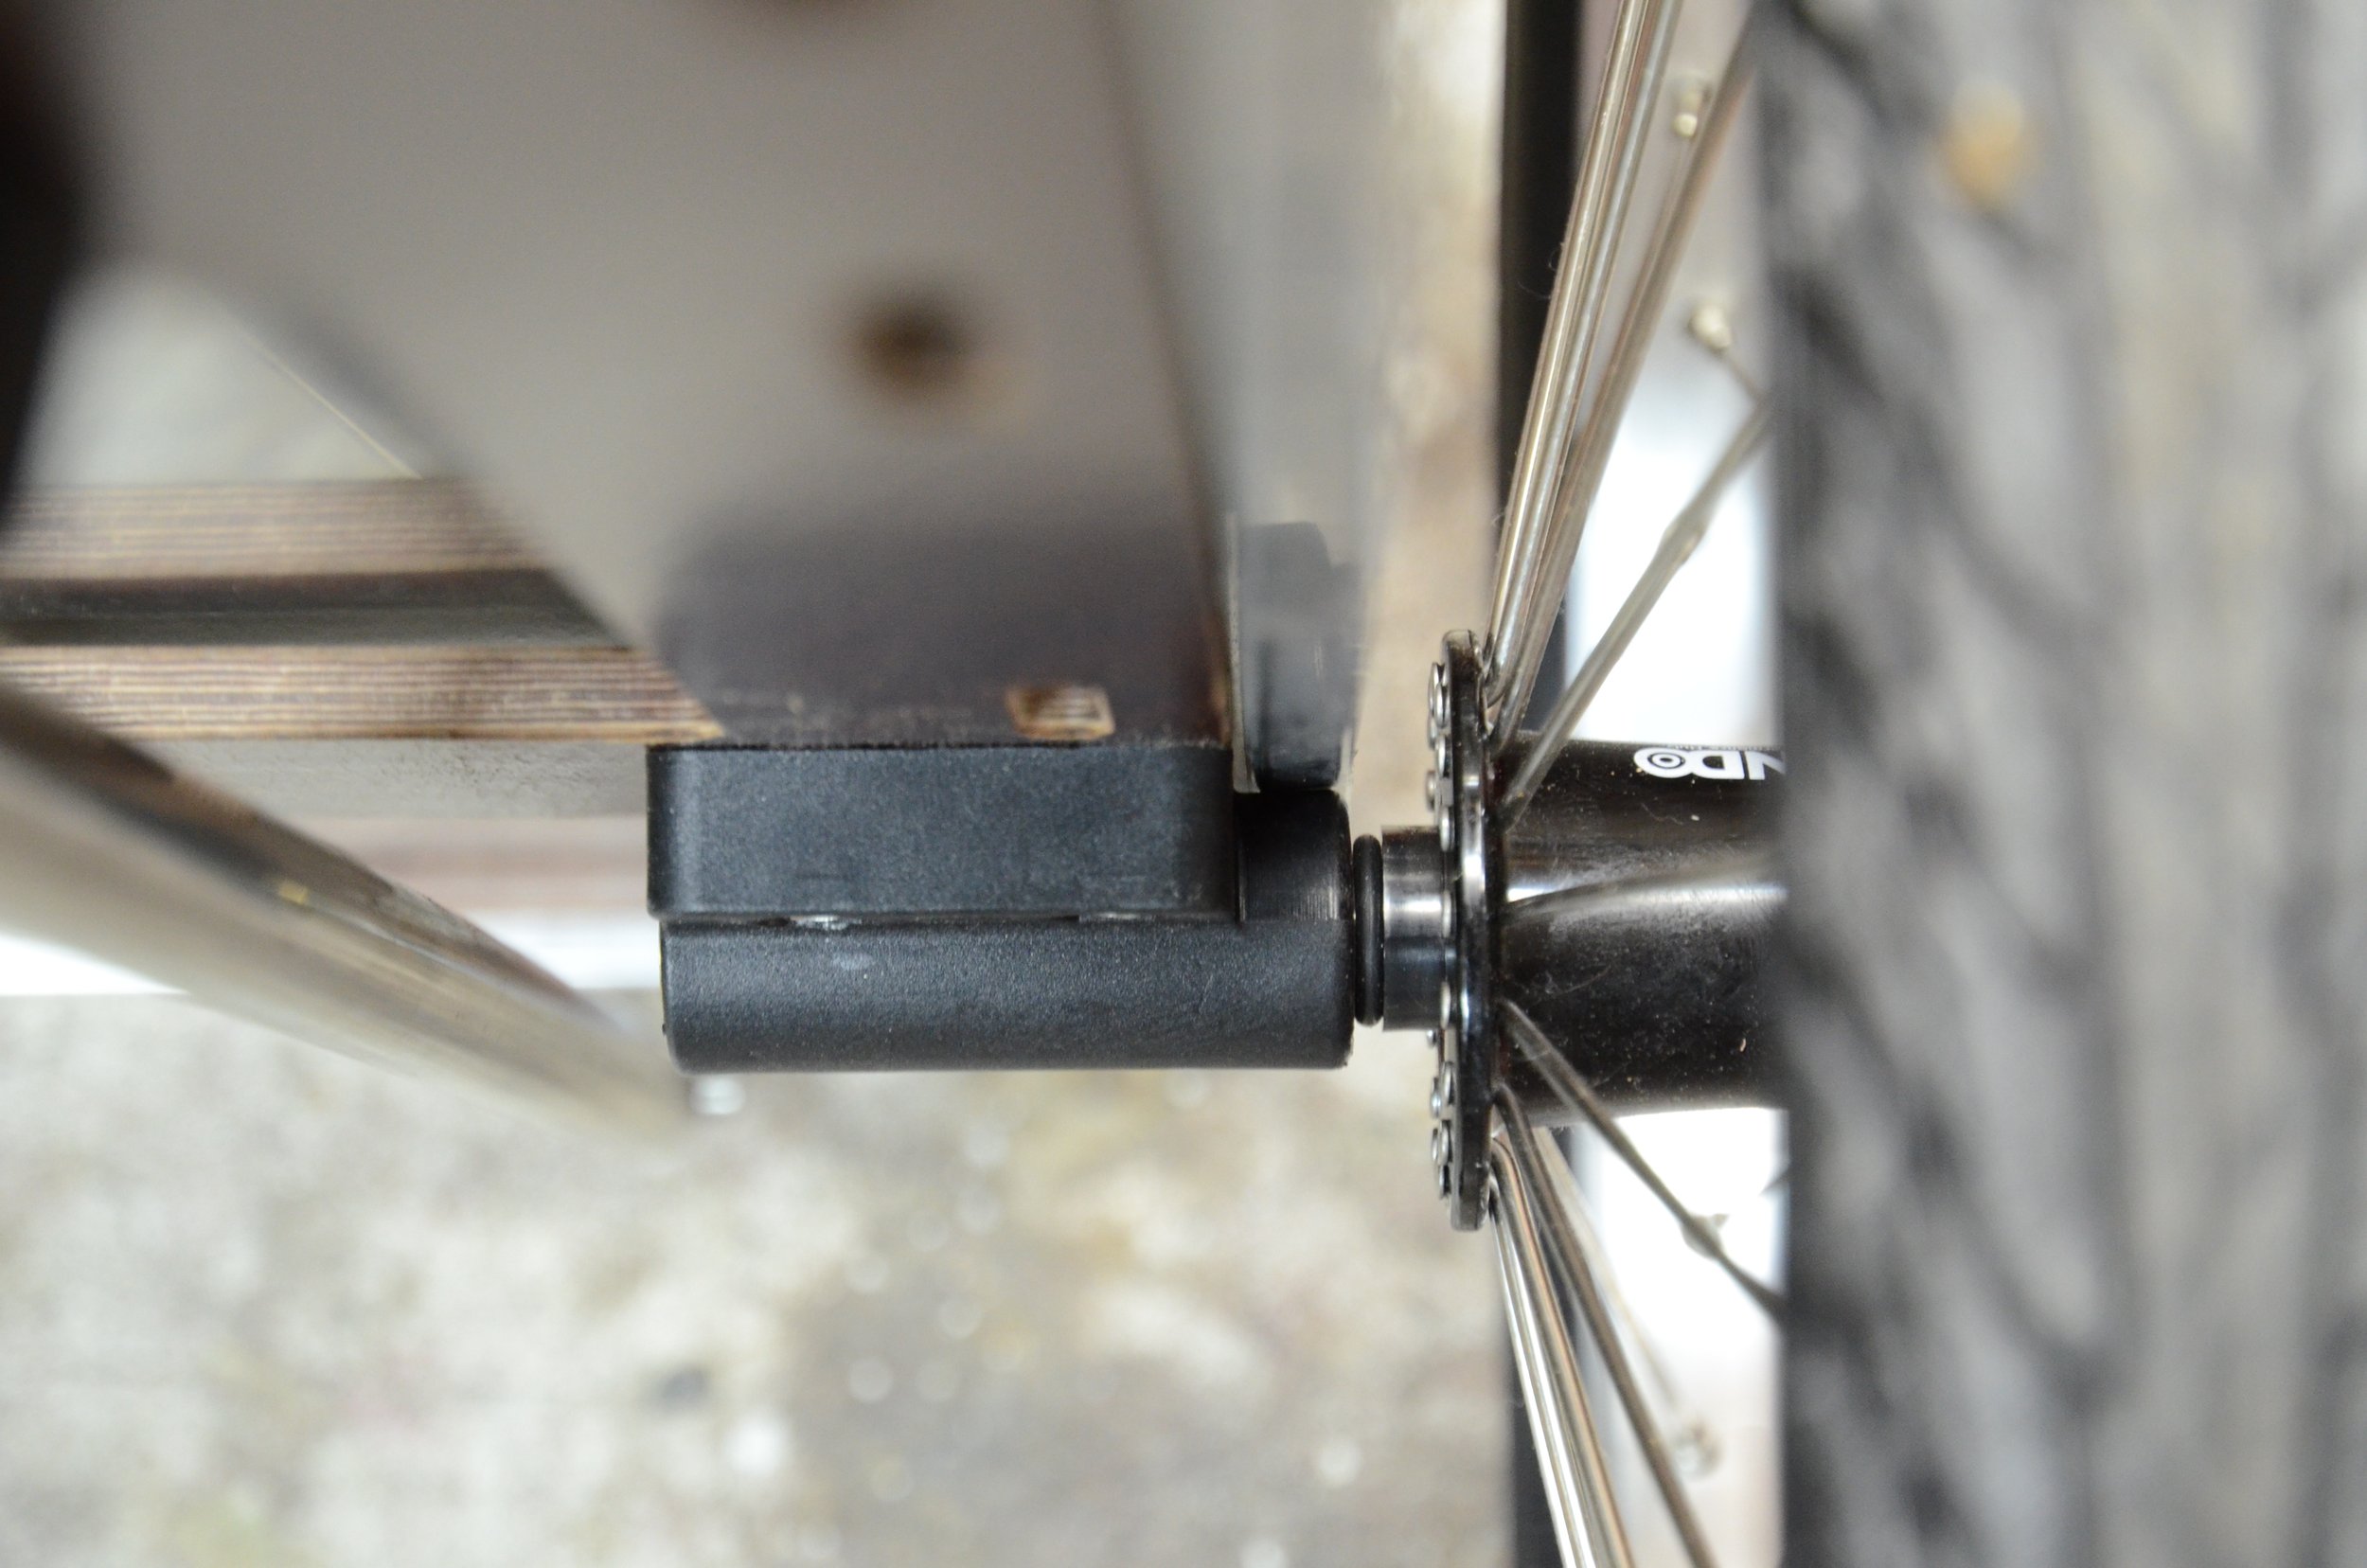
This is a great construction material for larger bike trailers or building a bike caravan. Instead of having a single panel act as a self-supporting element that absorbs all the forces, you’ll be using a skeleton frame design here. Aluminum square profiles are inexpensive, very lightweight, and relatively easy to join. Ideally, you’d weld them together; otherwise, you’ll need to screw them together. For large bicycle trailer projects, we’d recommend using 30×30×2 mm profiles. With these, you can build a sturdy frame with longitudinal and cross members and then optionally cover it with a thin, lightweight panel.
System Profiles
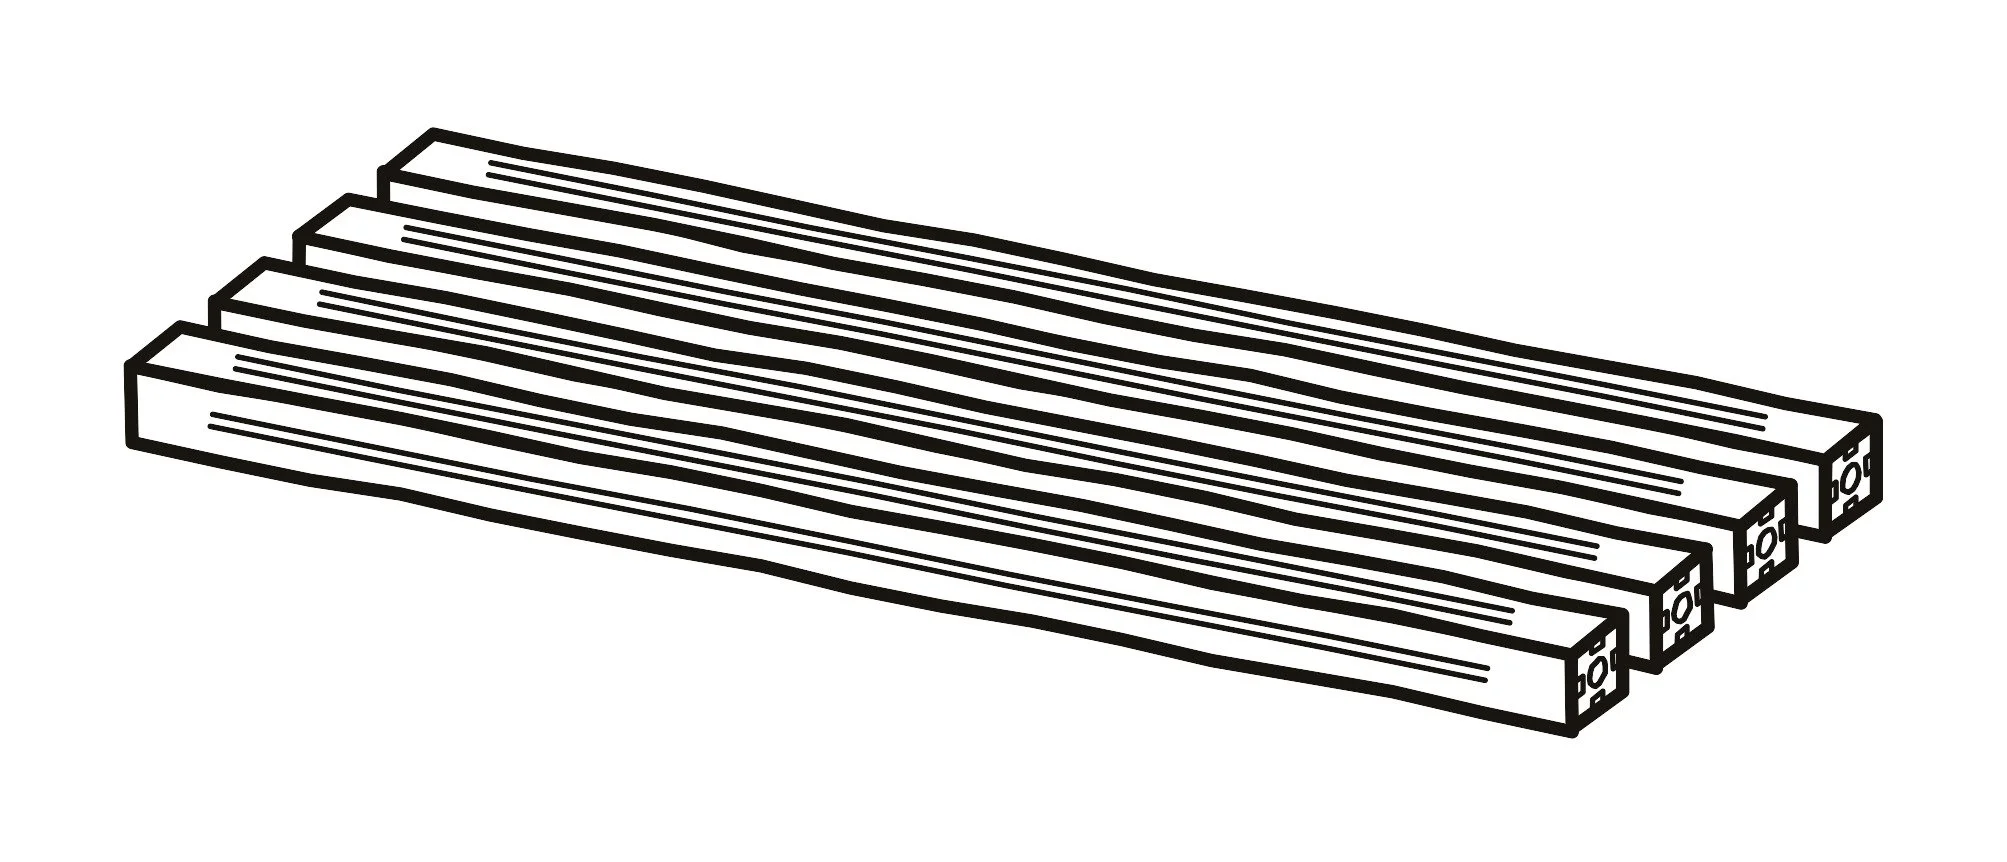
System profiles are a slightly heavier and more expensive alternative to aluminum square tubes. They offer the advantage of being very easy to connect to one another using screws. In addition, they can be adjusted, disassembled, and repaired at any time, making them perfect for prototypes and when you don’t have good workshop equipment. Here, you’re trading a higher weight and price for greater flexibility in your builds.
Help! What kind of building material should I use?
Not sure whether to go with screen printing, square tubing, or a profile system?
We would build bicycle trailers measuring up to 100 × 60 cm and weighing approximately 65 kg total (including cargo) out of screen printing plates.
Are you building a large bike trailer that needs to carry a fair amount of weight? Do you have access to an aluminum welder (or are you confident enough to assemble it using gusset plates)? Then go with the aluminum square tubing. It’s lighter and cheaper than standard profiles and, when welded, provides the best results for a trailer that has to withstand a lot of vibration and continuous loads.
Don't have a welder but want to experiment and make modifications later? Then use the system profile. Make sure to use a good threadlocker and check the screw connections at regular intervals.
Where can I get wheels, a drawbar, and a hitch for my bike trailer?
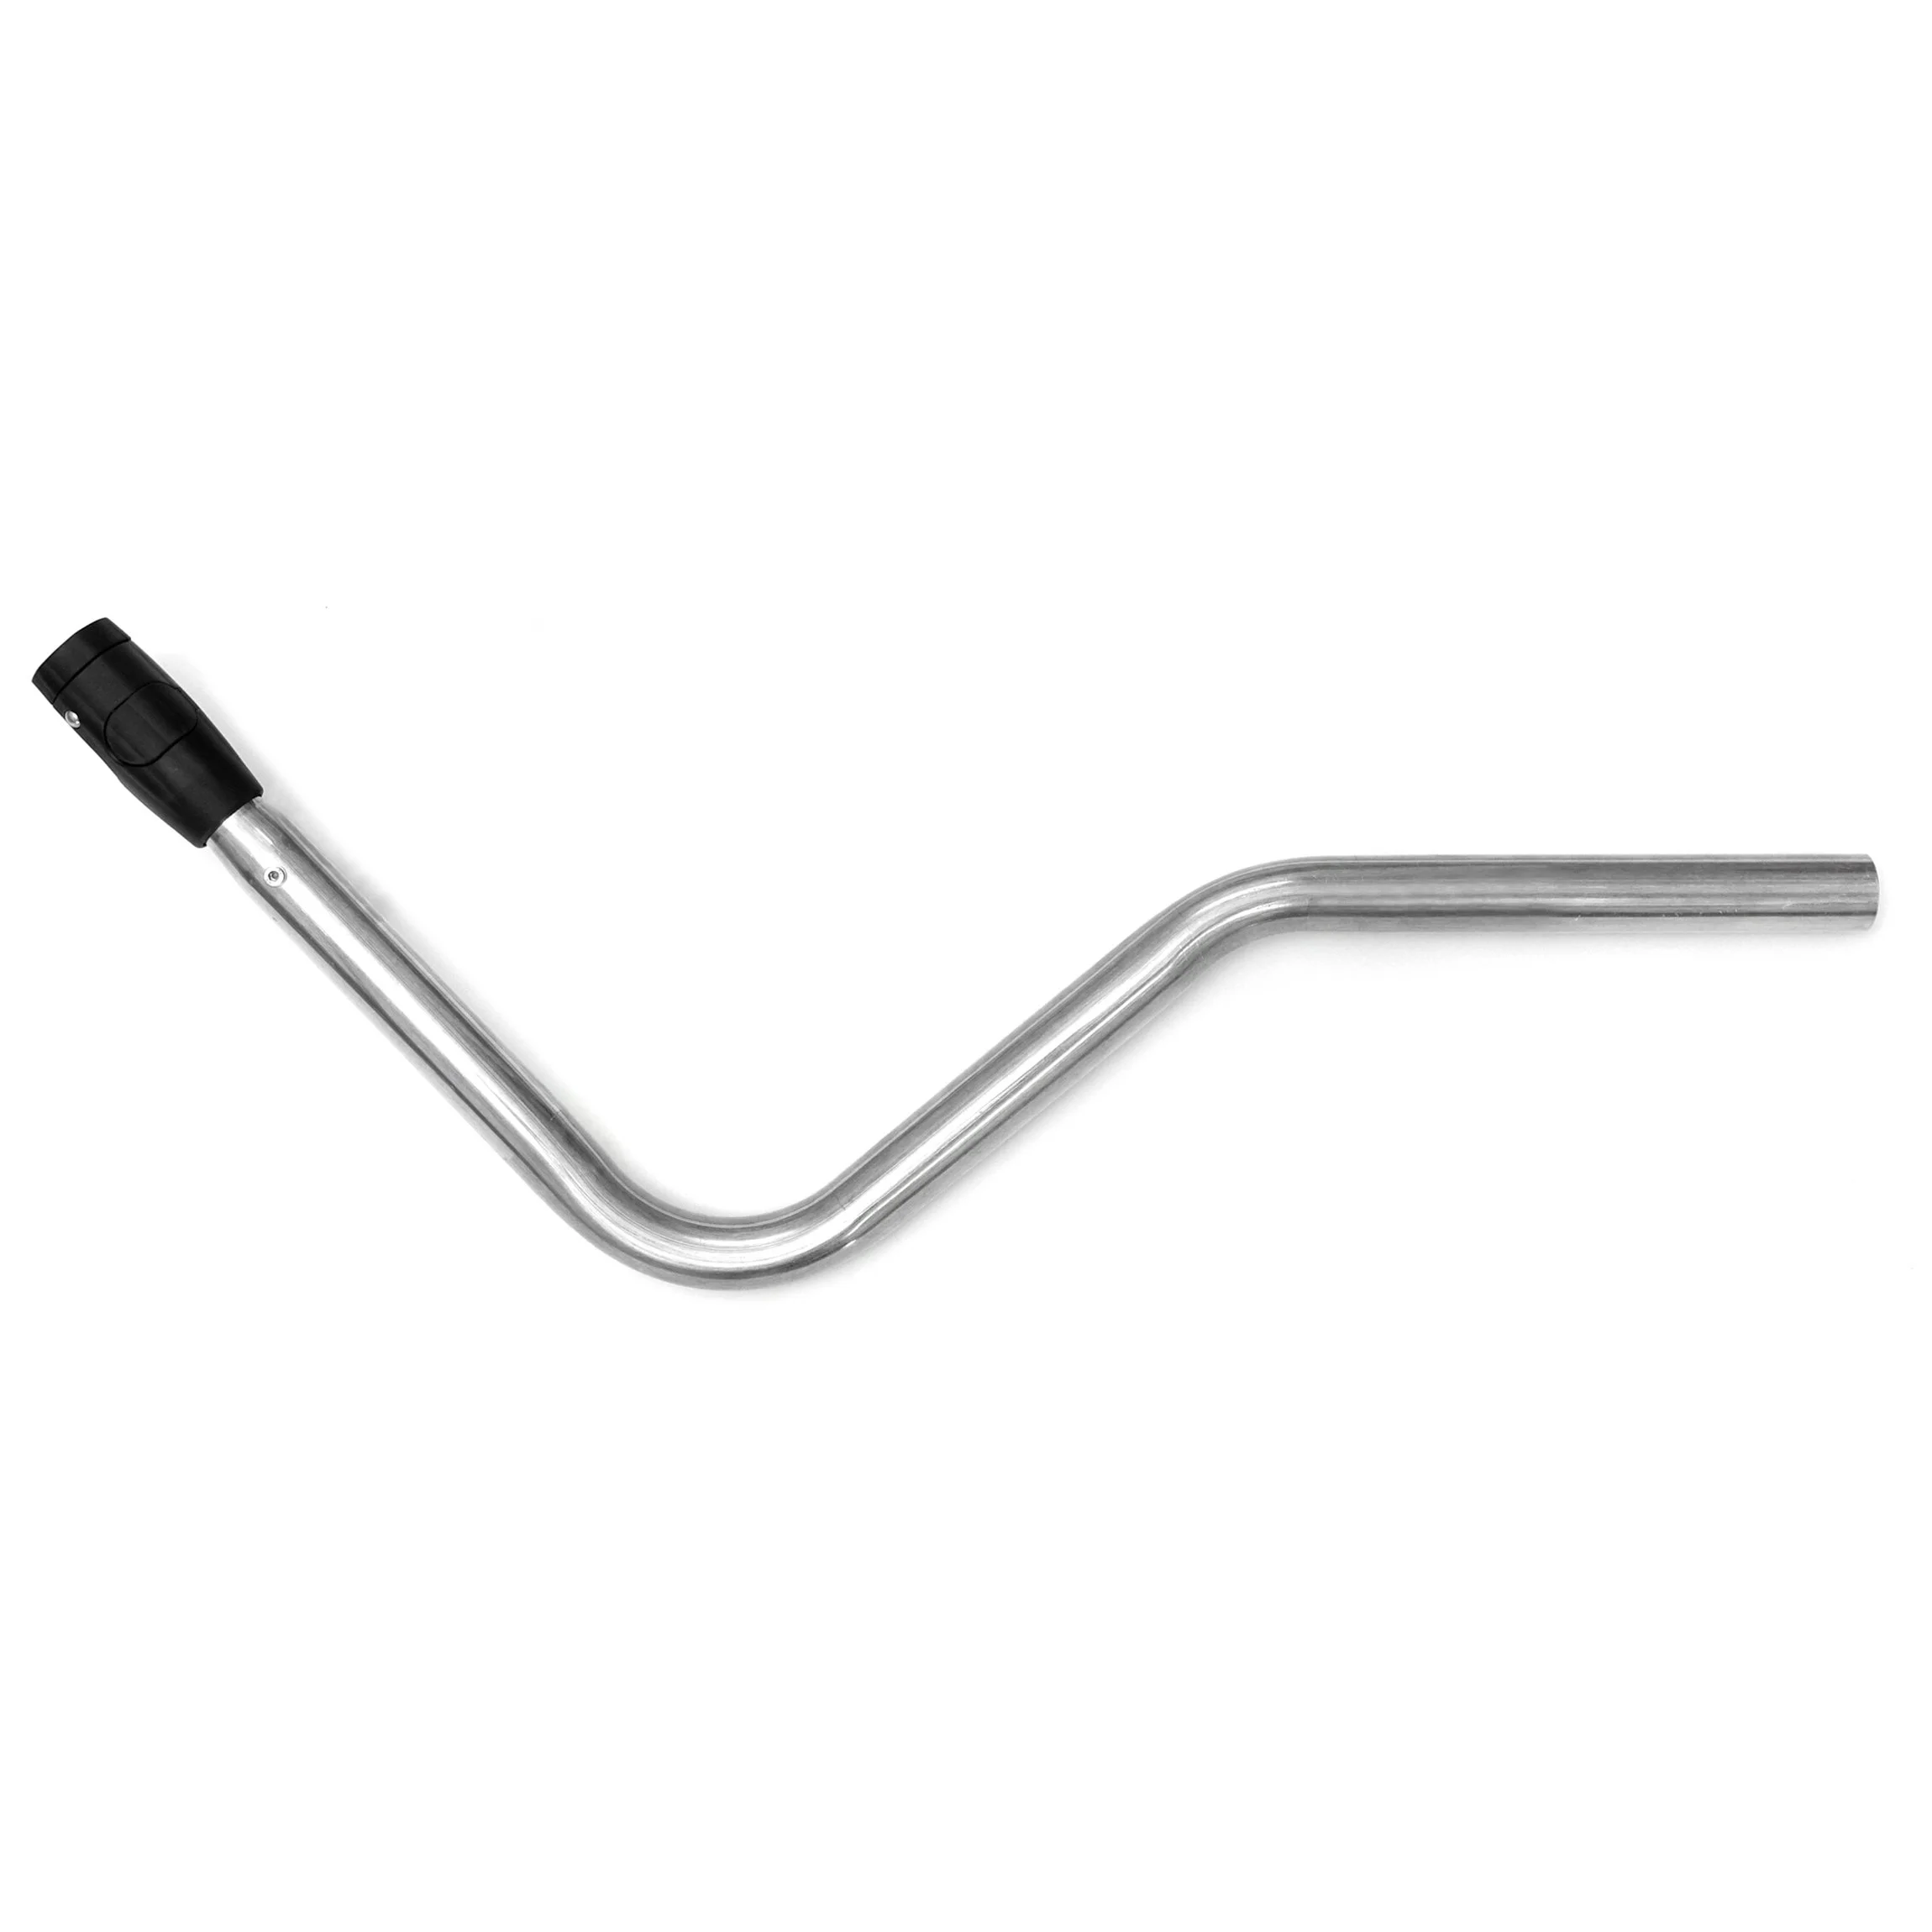
Drawbar & Coupler
The drawbar and hitch connect your bike trailer to your bike. For small bike trailers with a total weight of up to 45 kg, we can just about bring ourselves to say that you can also bolt those super-cheap Chinese hitches—and the corresponding drawbars—onto your bike. By the way, these are also used on almost all the cheap dog trailers or cargo trailers sold by the usual mail-order companies. They’re not exactly top-notch, but it’s better than not building a bike trailer at all…
However, we would advise that if you can only afford to buy one high-quality combination of parts for your DIY bike trailer, then invest in a sturdy drawbar and the matching hitch. These parts are very difficult to build yourself, and they are the components that bear the heaviest load on a bike trailer. They connect two heavy loads: you on your bike and your loaded bike trailer. As a result, significant torsional and shear forces, as well as vertical loads, occur here.
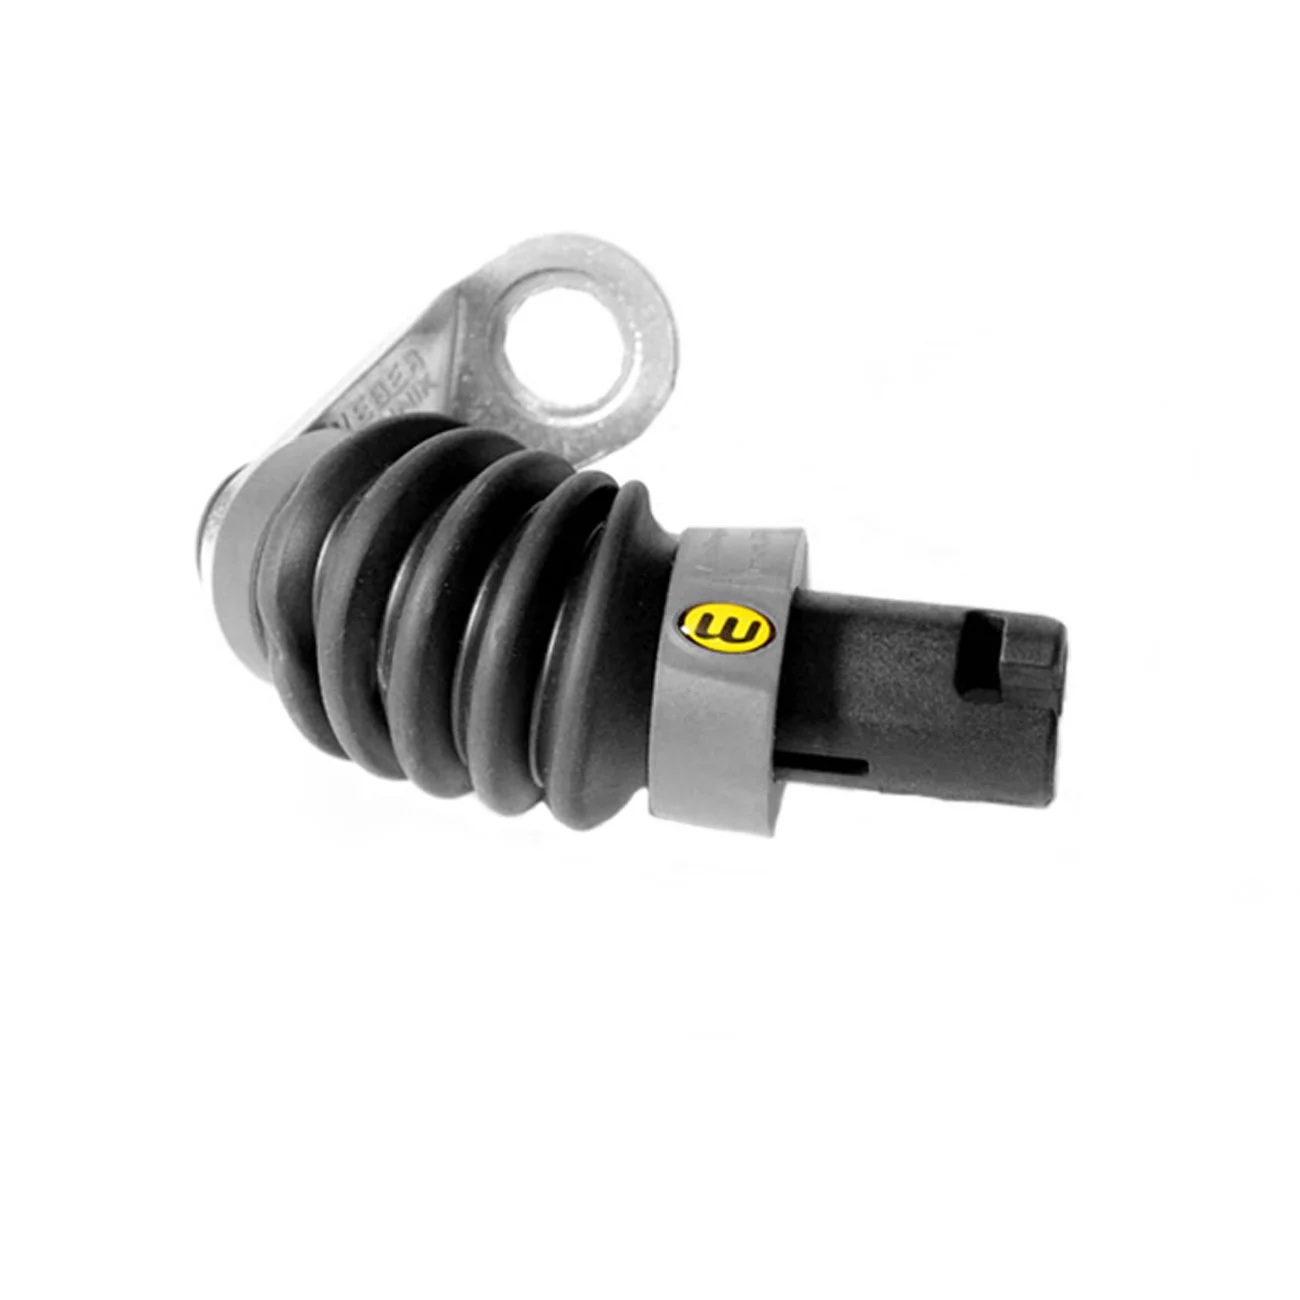
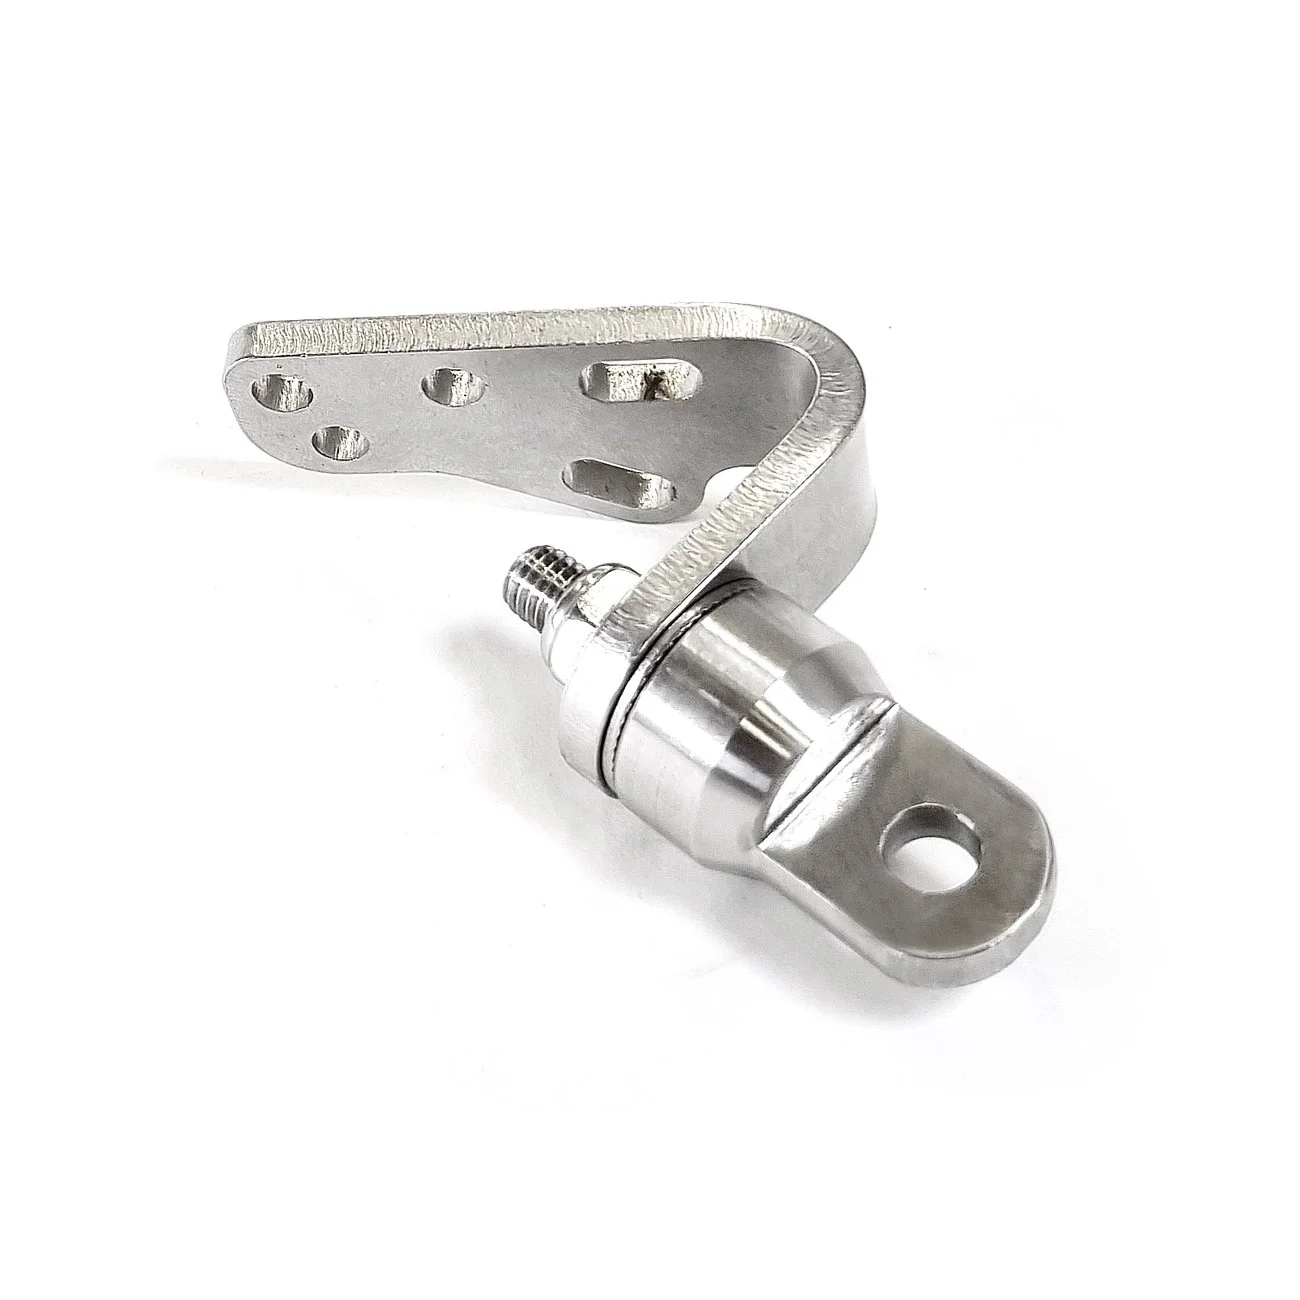
Of course, there are many other drawbars and coupling systems on the market. Basically, every bike trailer manufacturer designs its own system (including us). The couplings from well-known manufacturers like Thule or Croozer are consistently good. However, it’s important to know that child and dog trailers are usually designed for weights around 50 kg, and this also applies to drawbars and couplers. The heavier the trailer, the stiffer and more robust the drawbars (and drawbar mounts) must be. Even with the coupling, it’s no longer sufficient to simply press it against the rear axle with a single nut, because when braking with a heavier trailer, the thrust forces from the trailer try to twist the coupling clockwise. That’s why couplings designed for heavier loads—such as the Weber coupling system and our Hinterher system—always include an anti-rotation device for the coupling.
Money-saving tip: If you don't need to be able to detach the drawbar from the bike trailer, you can skip the drawbar mount and simply bolt the drawbar securely underneath the trailer.

Why not use a high drawbar for a seatpost-mounted trailer?
Take a look around: All modern single-axle bike trailers use a low drawbar. There are good reasons for this. Safety, handling, braking performance, mechanical design—all of these factors argue against a high drawbar. In the past, cargo trailers were often built this way, but a lot has changed since then, and with e-bikes, much higher speeds are possible even with heavier loads. You can find a more detailed explanation of the reasons in our FAQs.
We do, however, occasionally install high-mounted drawbars when there are very specific requests—for example, when people can no longer bend over easily to hitch and unhitch the trailer. Otherwise, though, we would always recommend a low-mounted drawbar.

Training Wheels
A frustrating issue for you DIY builders. Where on earth can we find affordable and sturdy wheels for our bike trailer? The answer: There are millions of them online! But that only applies if you’re building a bike trailer with dual-side wheel mounting (i.e., a frame around the wheel). Then you can simply use the front wheels from regular bikes. One minor drawback: The wheels aren’t as easy to remove; you’ll need to build this frame, and there’s usually no through-axle connecting the two wheels. So the base plate has to handle everything and absorb these one-sided forces. Still, it’s a good, tried-and-true design.
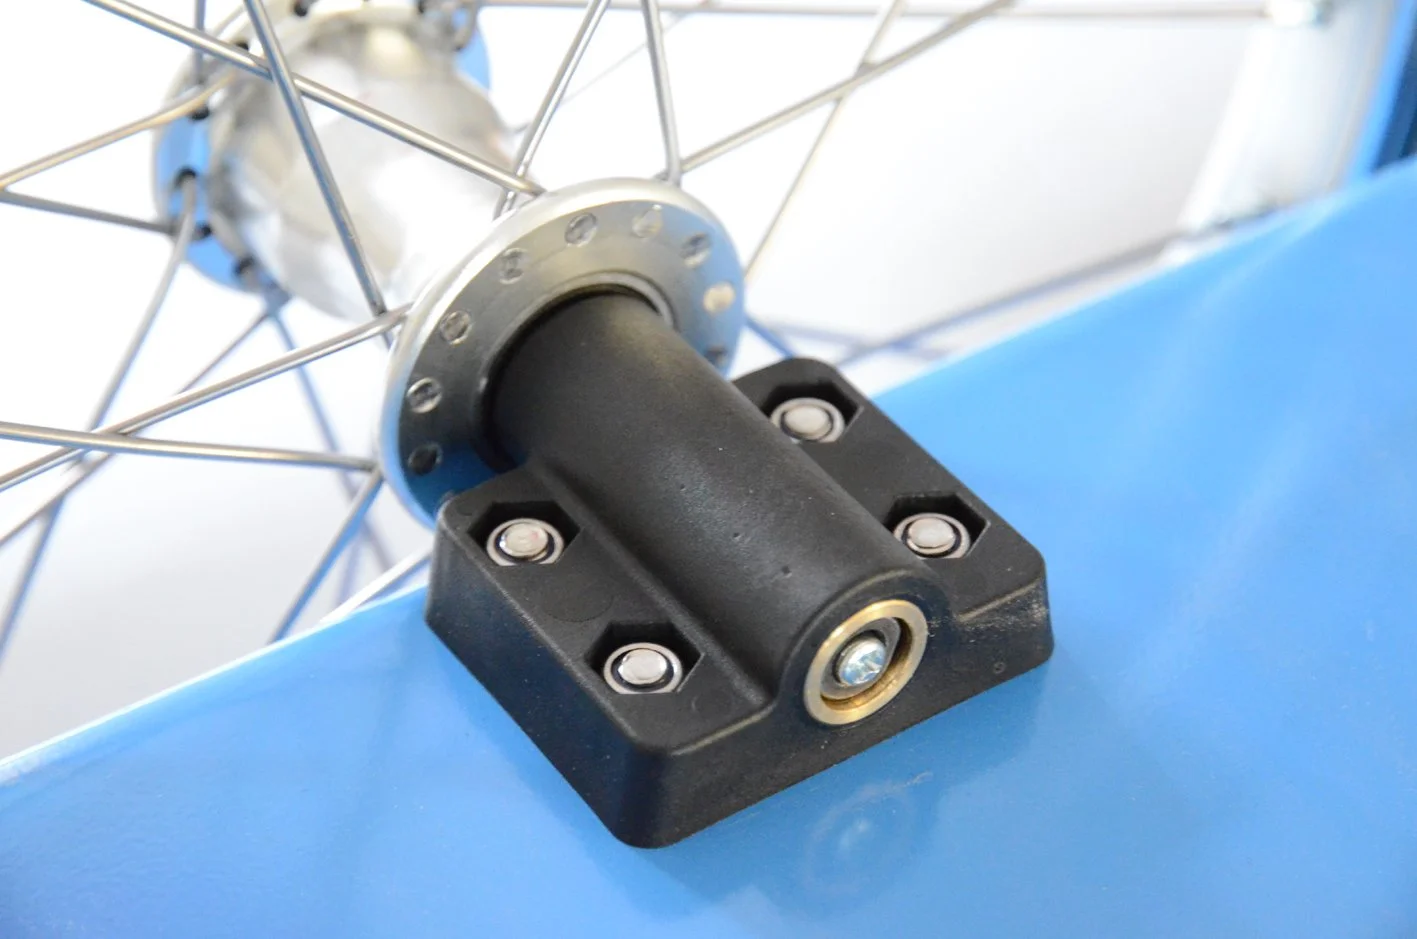
The single-sided thru-axle suspension system that we use and offer costs more because the hub and bearings have to bear the full bending moment (and our production volumes are minuscule compared to those for bicycle front wheels). In return, you can remove the wheels at the push of a button, you don’t have wheel wells on the cargo area, the packed size is flat, and you can create a continuous axle that distributes the load even better. We offer various tire options and load ratings for the wheels. You’ll also find trailer wheels with drum brakes or disc brake mounts in our shop.
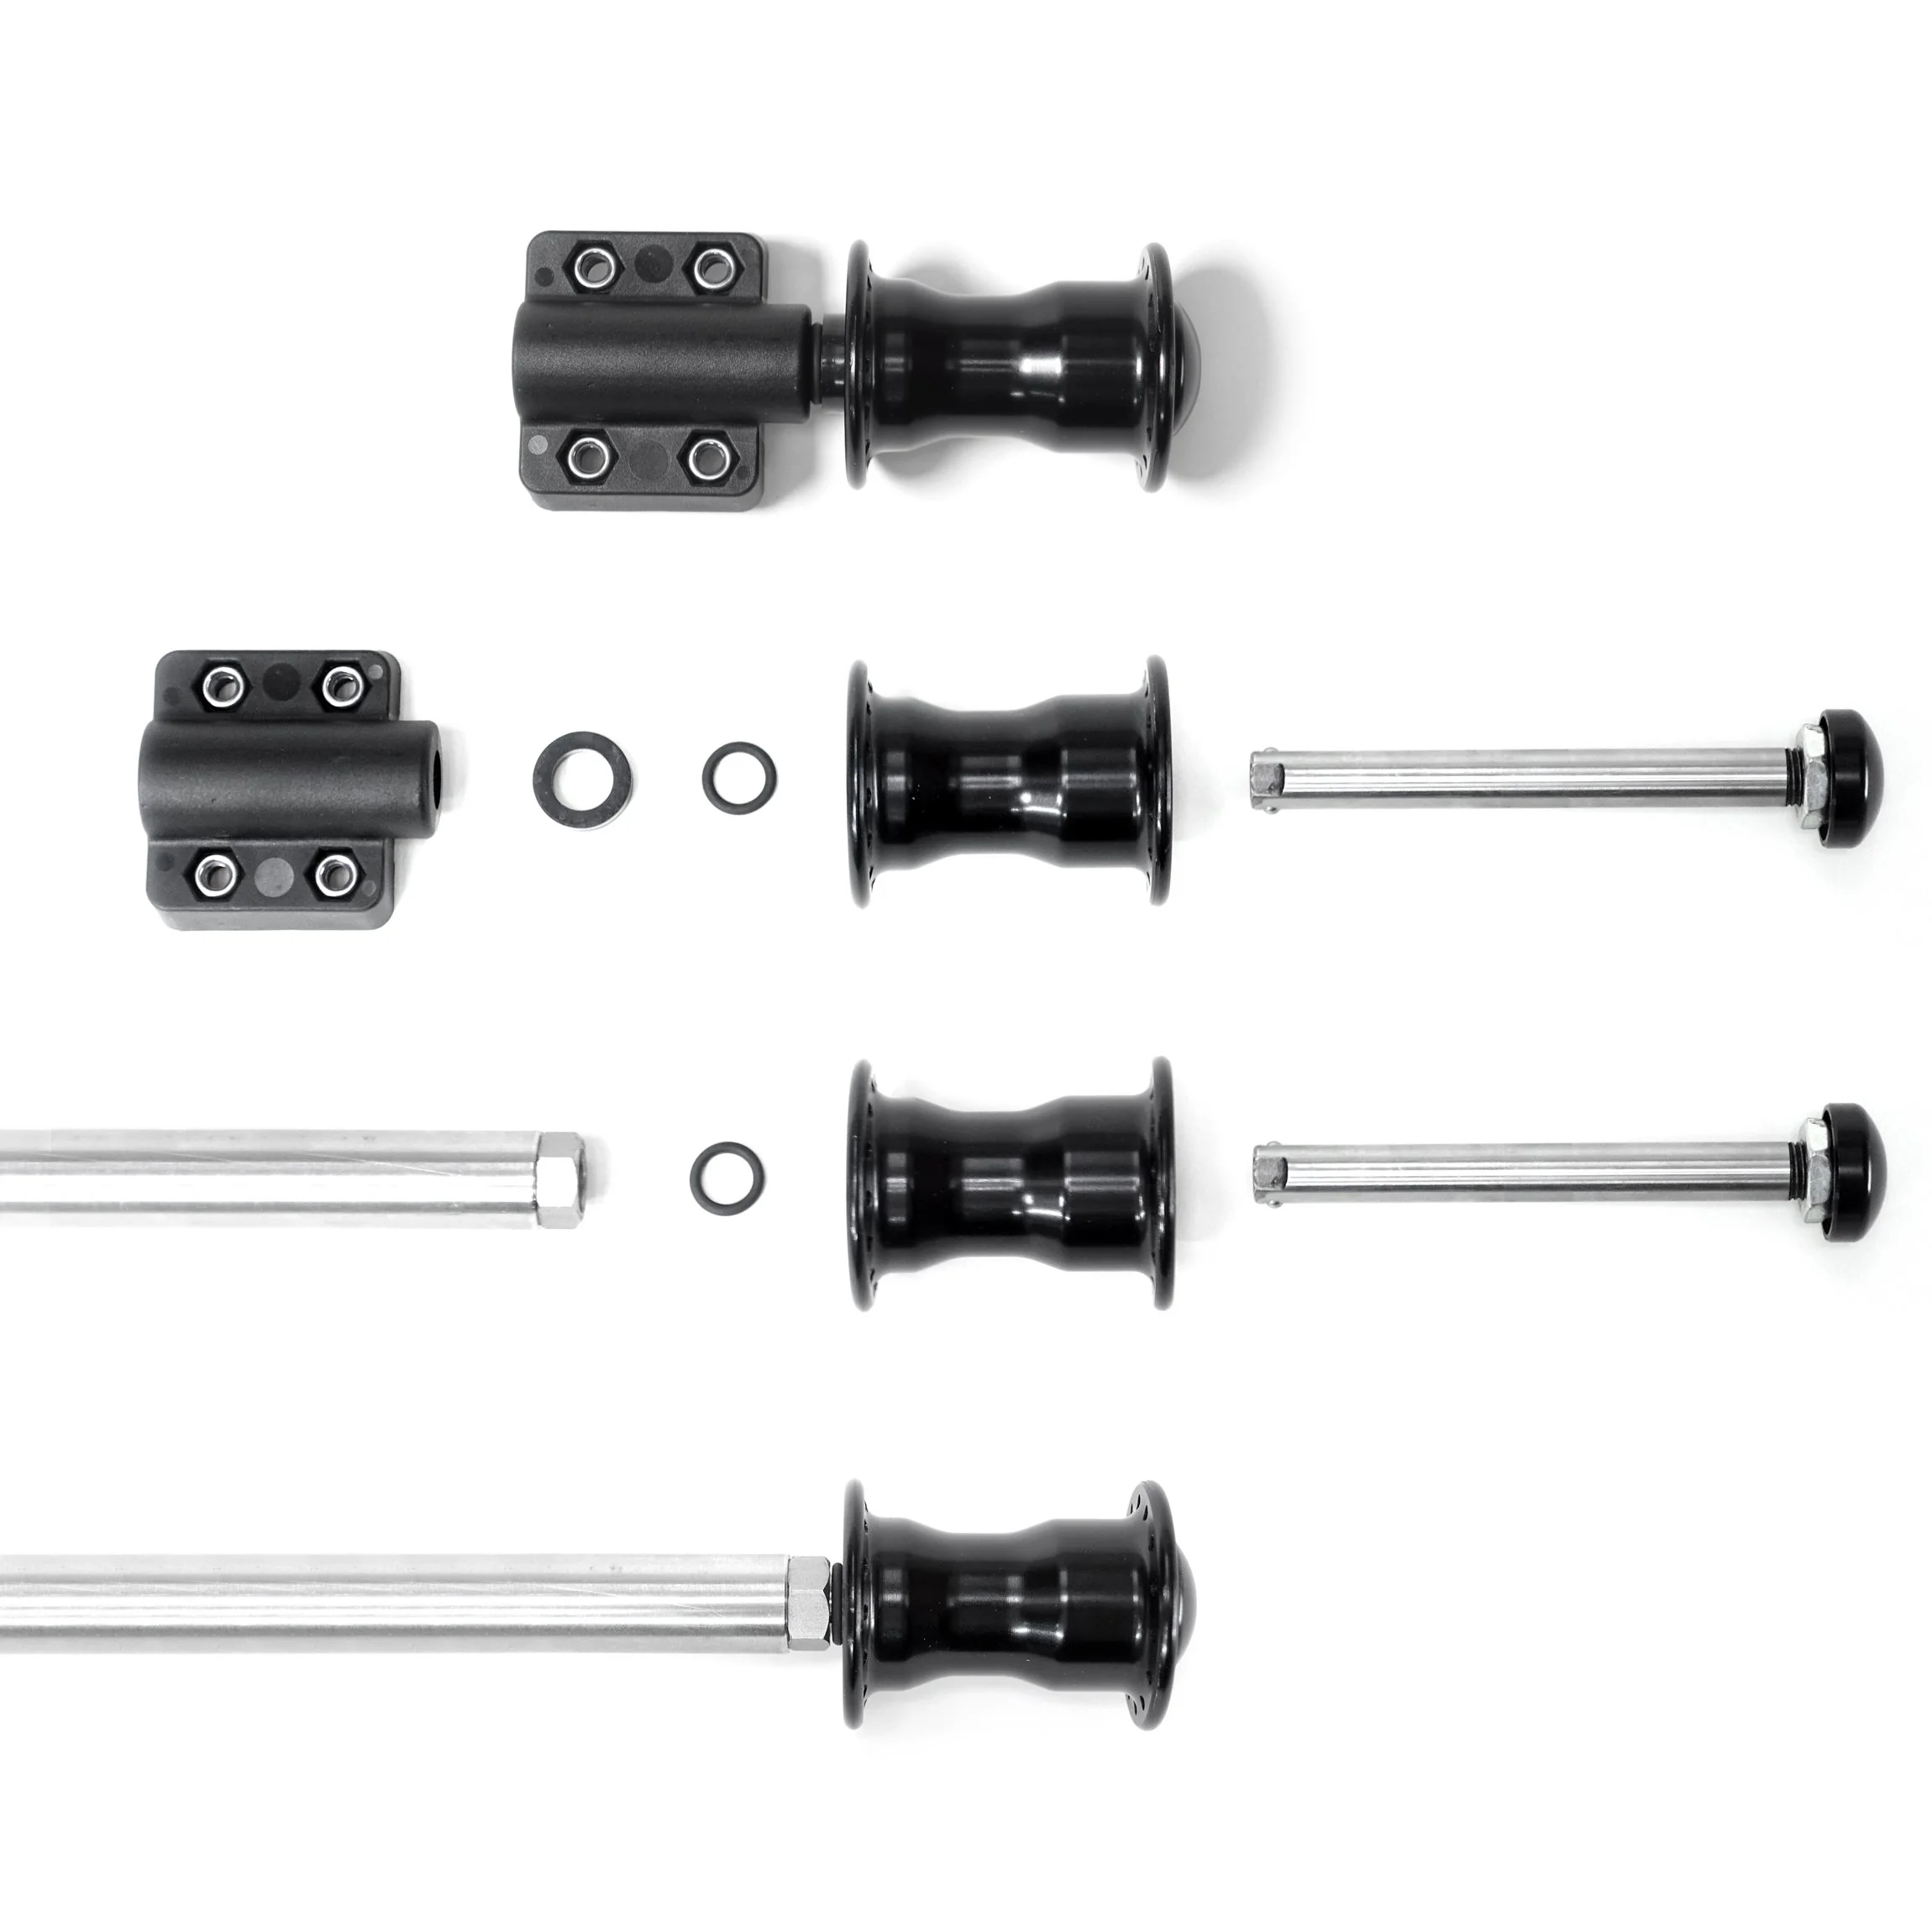
Will a third-party trailer wheel from Company X/Y fit into our axle mounts?
Well, yes and no—unfortunately, there's no standard. Your existing trailer wheel must meet the following requirements:
Hub diameter: 12 mm
If you have a compatible thru-axle: It must also have a diameter of exactly 12 mm. Not a single millimeter more, otherwise it won’t fit. The thru-axle must protrude at least 50 mm from the wheel hub. In that case, there’s a high probability that your wheel, along with its thru-axle, will fit into our plastic axle mount or into the stainless steel solid axle. If your thru-axle is longer than 50 mm (i.e., the part that still protrudes from the hub), you can shorten it to a certain extent using plastic spacers.
Note: The hub of a wheel for a bicycle trailer is designed differently from that of a front wheel for a bicycle, even though the latter is also available with a 12-mm axle diameter (see the info box below).
The Size of the Wheels
20-inch wheels roll more smoothly over curbs and potholes—the larger radius makes contact with obstacles at a shallower angle. There’s also a wider selection of tires. For most trailers 52 cm or wider, they are the better choice. 16-inch wheels only make the trailer more stable against tipping if they lower the loading surface (by about 5 cm)—the decisive factors are the height of the center of gravity and the track width, not the wheel size itself. In our view, they therefore make sense for narrow trailers.
For bike trailers and very long bike trailers, we would always recommend 20-inch wheels. This minimizes the risk of the trailer bottoming out when you’re riding down a curb or going over a dip in the road.
Axis
If you’ve decided on a single-sided wheel mounting system, we offer two types of axle mounts. For small bike trailers with a total weight of up to 45 kg, our plastic axle mounts are ideal. These are simply screwed onto each side of the trailer, and you can then easily snap the wheels into place. The advantage: They’re lightweight and affordable, yet very sturdy and high-quality for their purpose (featuring a molded brass sleeve into which the wheels’ thru-axles snap). The downside: The wheels aren’t directly connected to each other; the screen-printed plate essentially serves as the axle itself. That’s why we recommend using these axle mounts for relatively small bike trailers or those with a load of up to 45 kg.
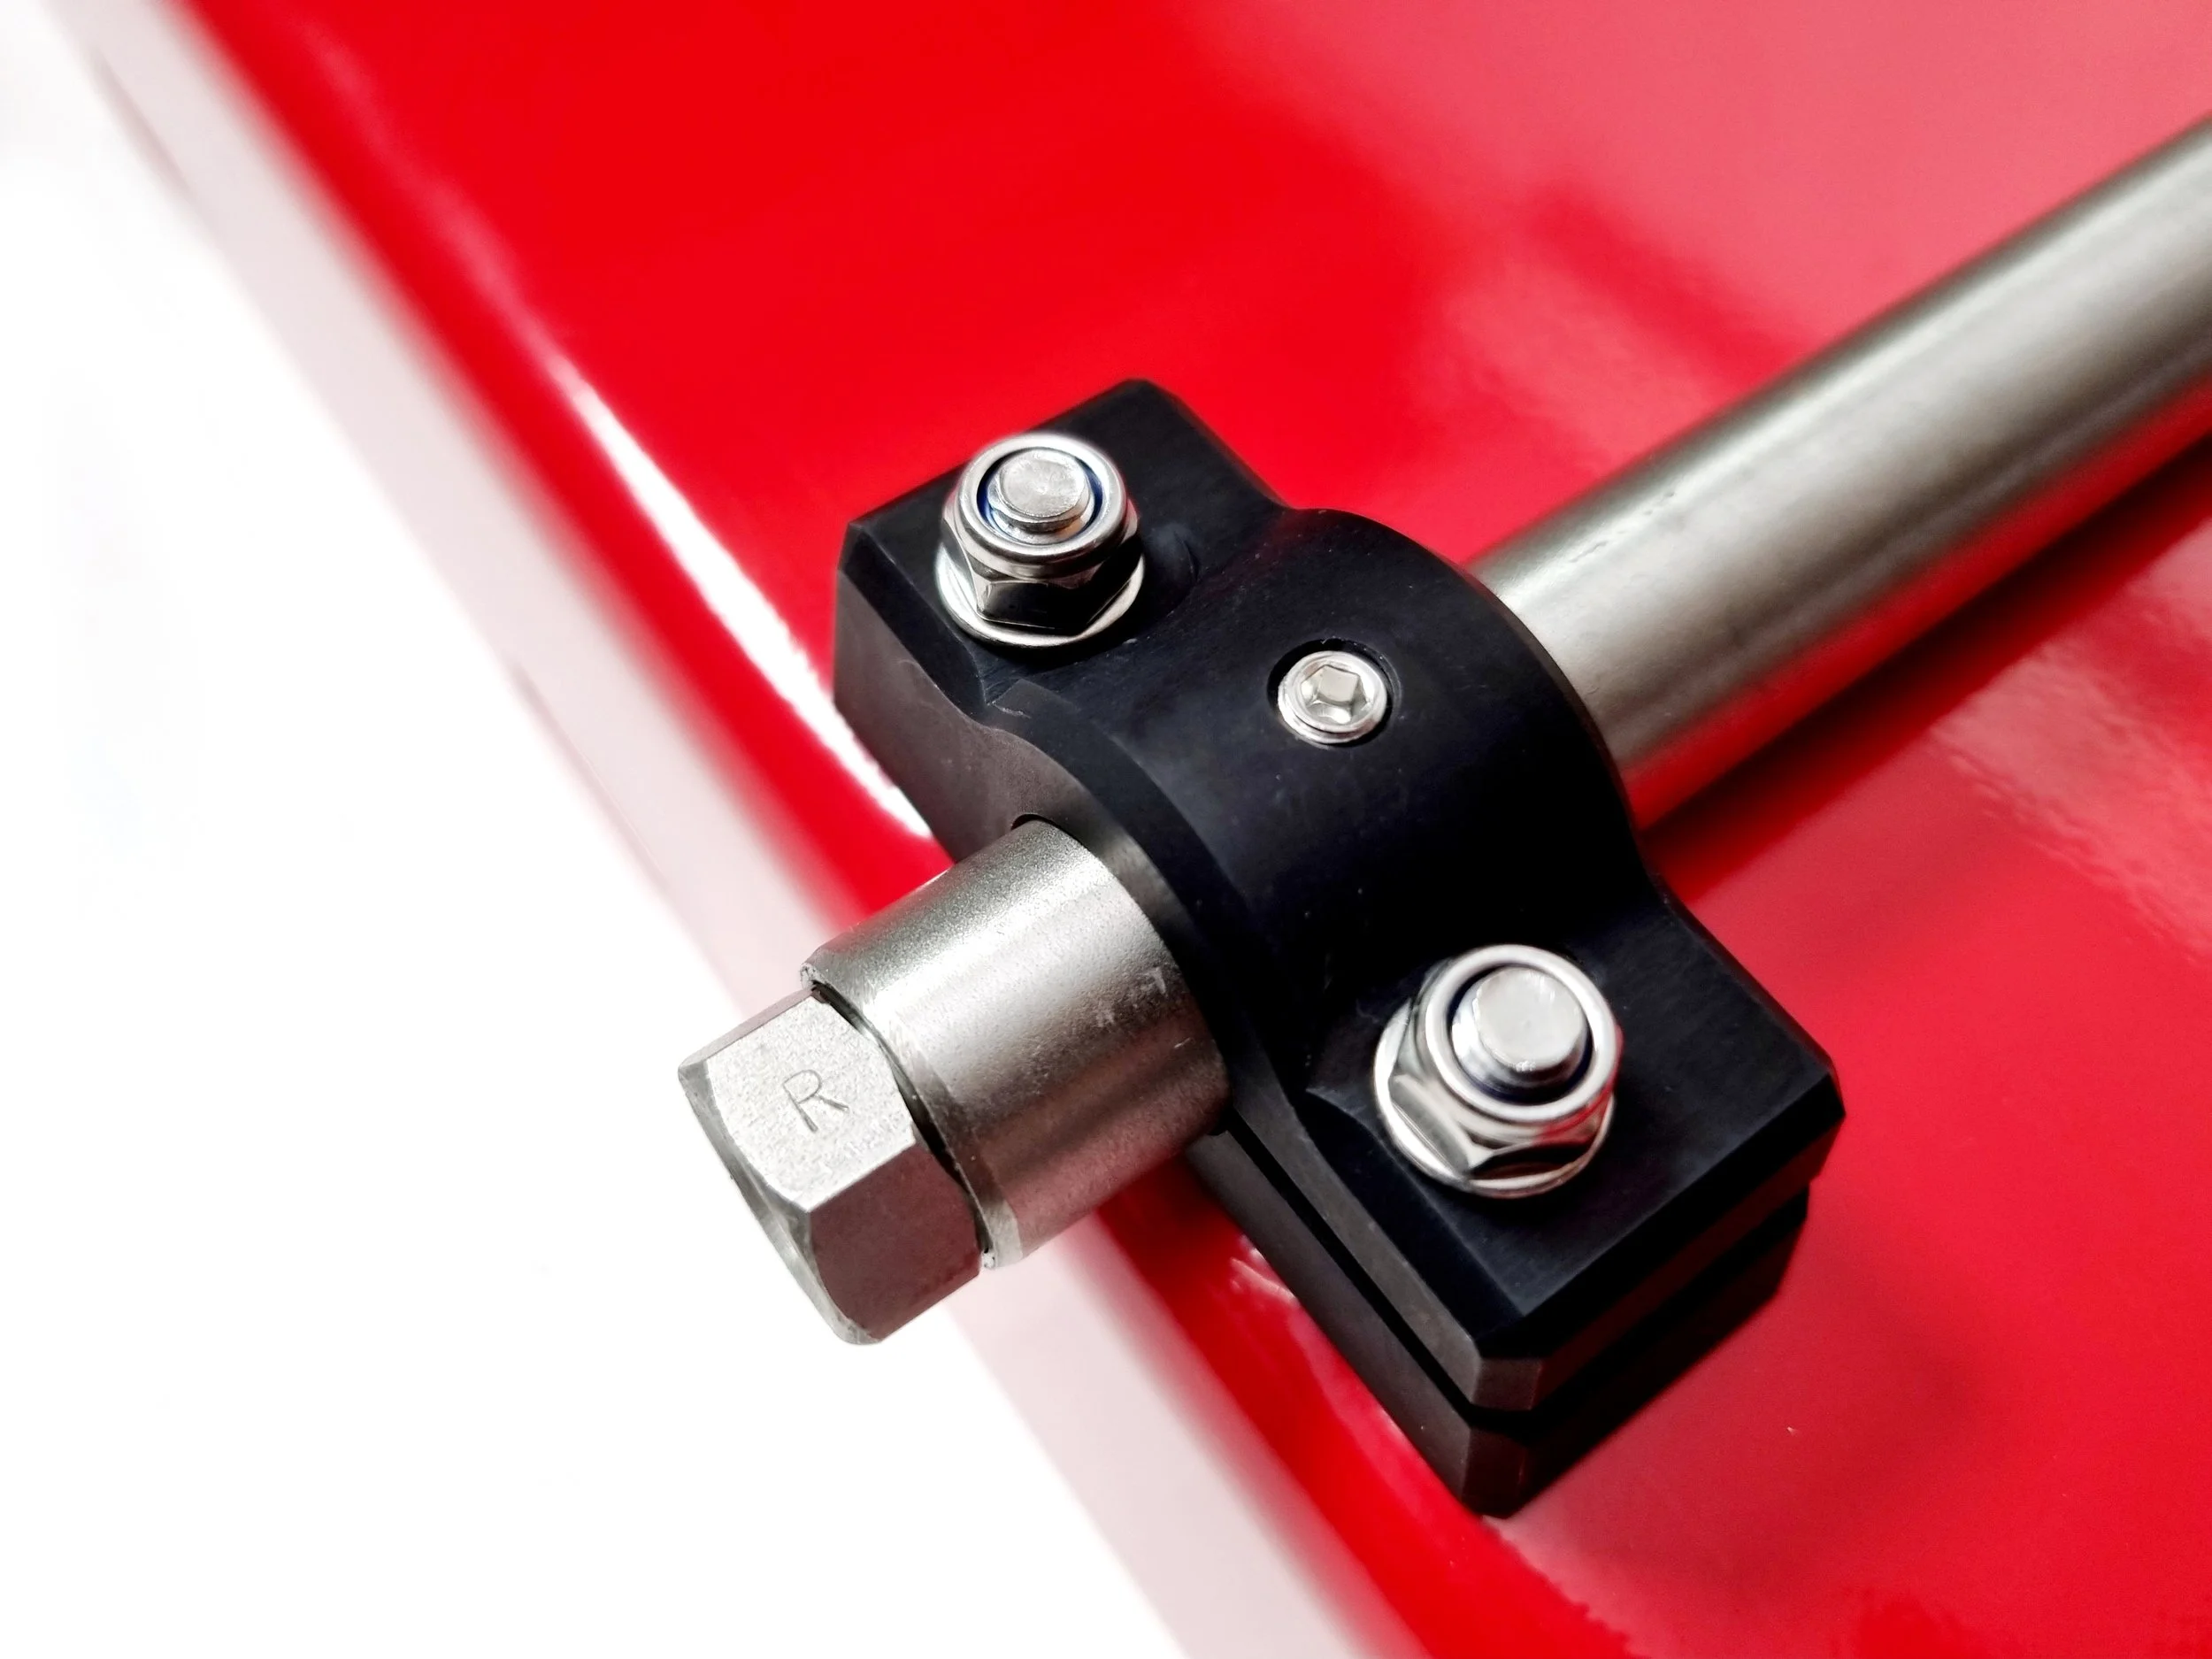
For anything with a total weight over 45 kg, we recommend our stainless steel rigid axle. This axle can withstand an incredible amount of stress. A stainless steel sleeve is screwed into each end on both sides. When the wheels click into the axle, the ball-lock pin of the wheel’s quick-release axle expands at the end of this sleeve and secures the wheel in place. To prevent the wheels from unscrewing these sleeves, they are screwed in with right- or left-hand threads—just like the pedals—and glued in place. You can tell which is which by an engraving marked “L” or “R,” and you should install them in the direction of travel: L = left or R = right.
What is used to screw the round stainless steel axle onto a flat surface? Our clamping blocks, which are CNC-machined from aluminum. They securely clamp the axle in place, and a set screw further secures them in position.
Can't I just bolt standard bicycle wheels on one side after all?
It’s doable: Take a front wheel with a hub designed for a 12-mm thru-axle, insert a high-strength bolt through it, clamp the protruding end securely under the trailer floor with two sturdy pipe clamps, and screw it in place as well. It sounds simple and inexpensive, but we still advise against it—and not because we’re trying to push our parts on you.
The reason is the load. A standard hub is designed to support the wheel on both sides. If it’s suspended from only one side, the axle and bearings must absorb a bending moment for which they aren’t designed. It’s hard to estimate how long this will hold up. Then there’s the bolt: It bears the greatest load right at the clamping point and is subjected to constantly changing stress. If the thread is located there, it can lead to permanent failure over time.
In short: Technically, it's possible, but it's a makeshift solution with uncertainties that can't be reliably tested in advance.
Lighting, tie-down points, side deflectors, stands, kickstand…
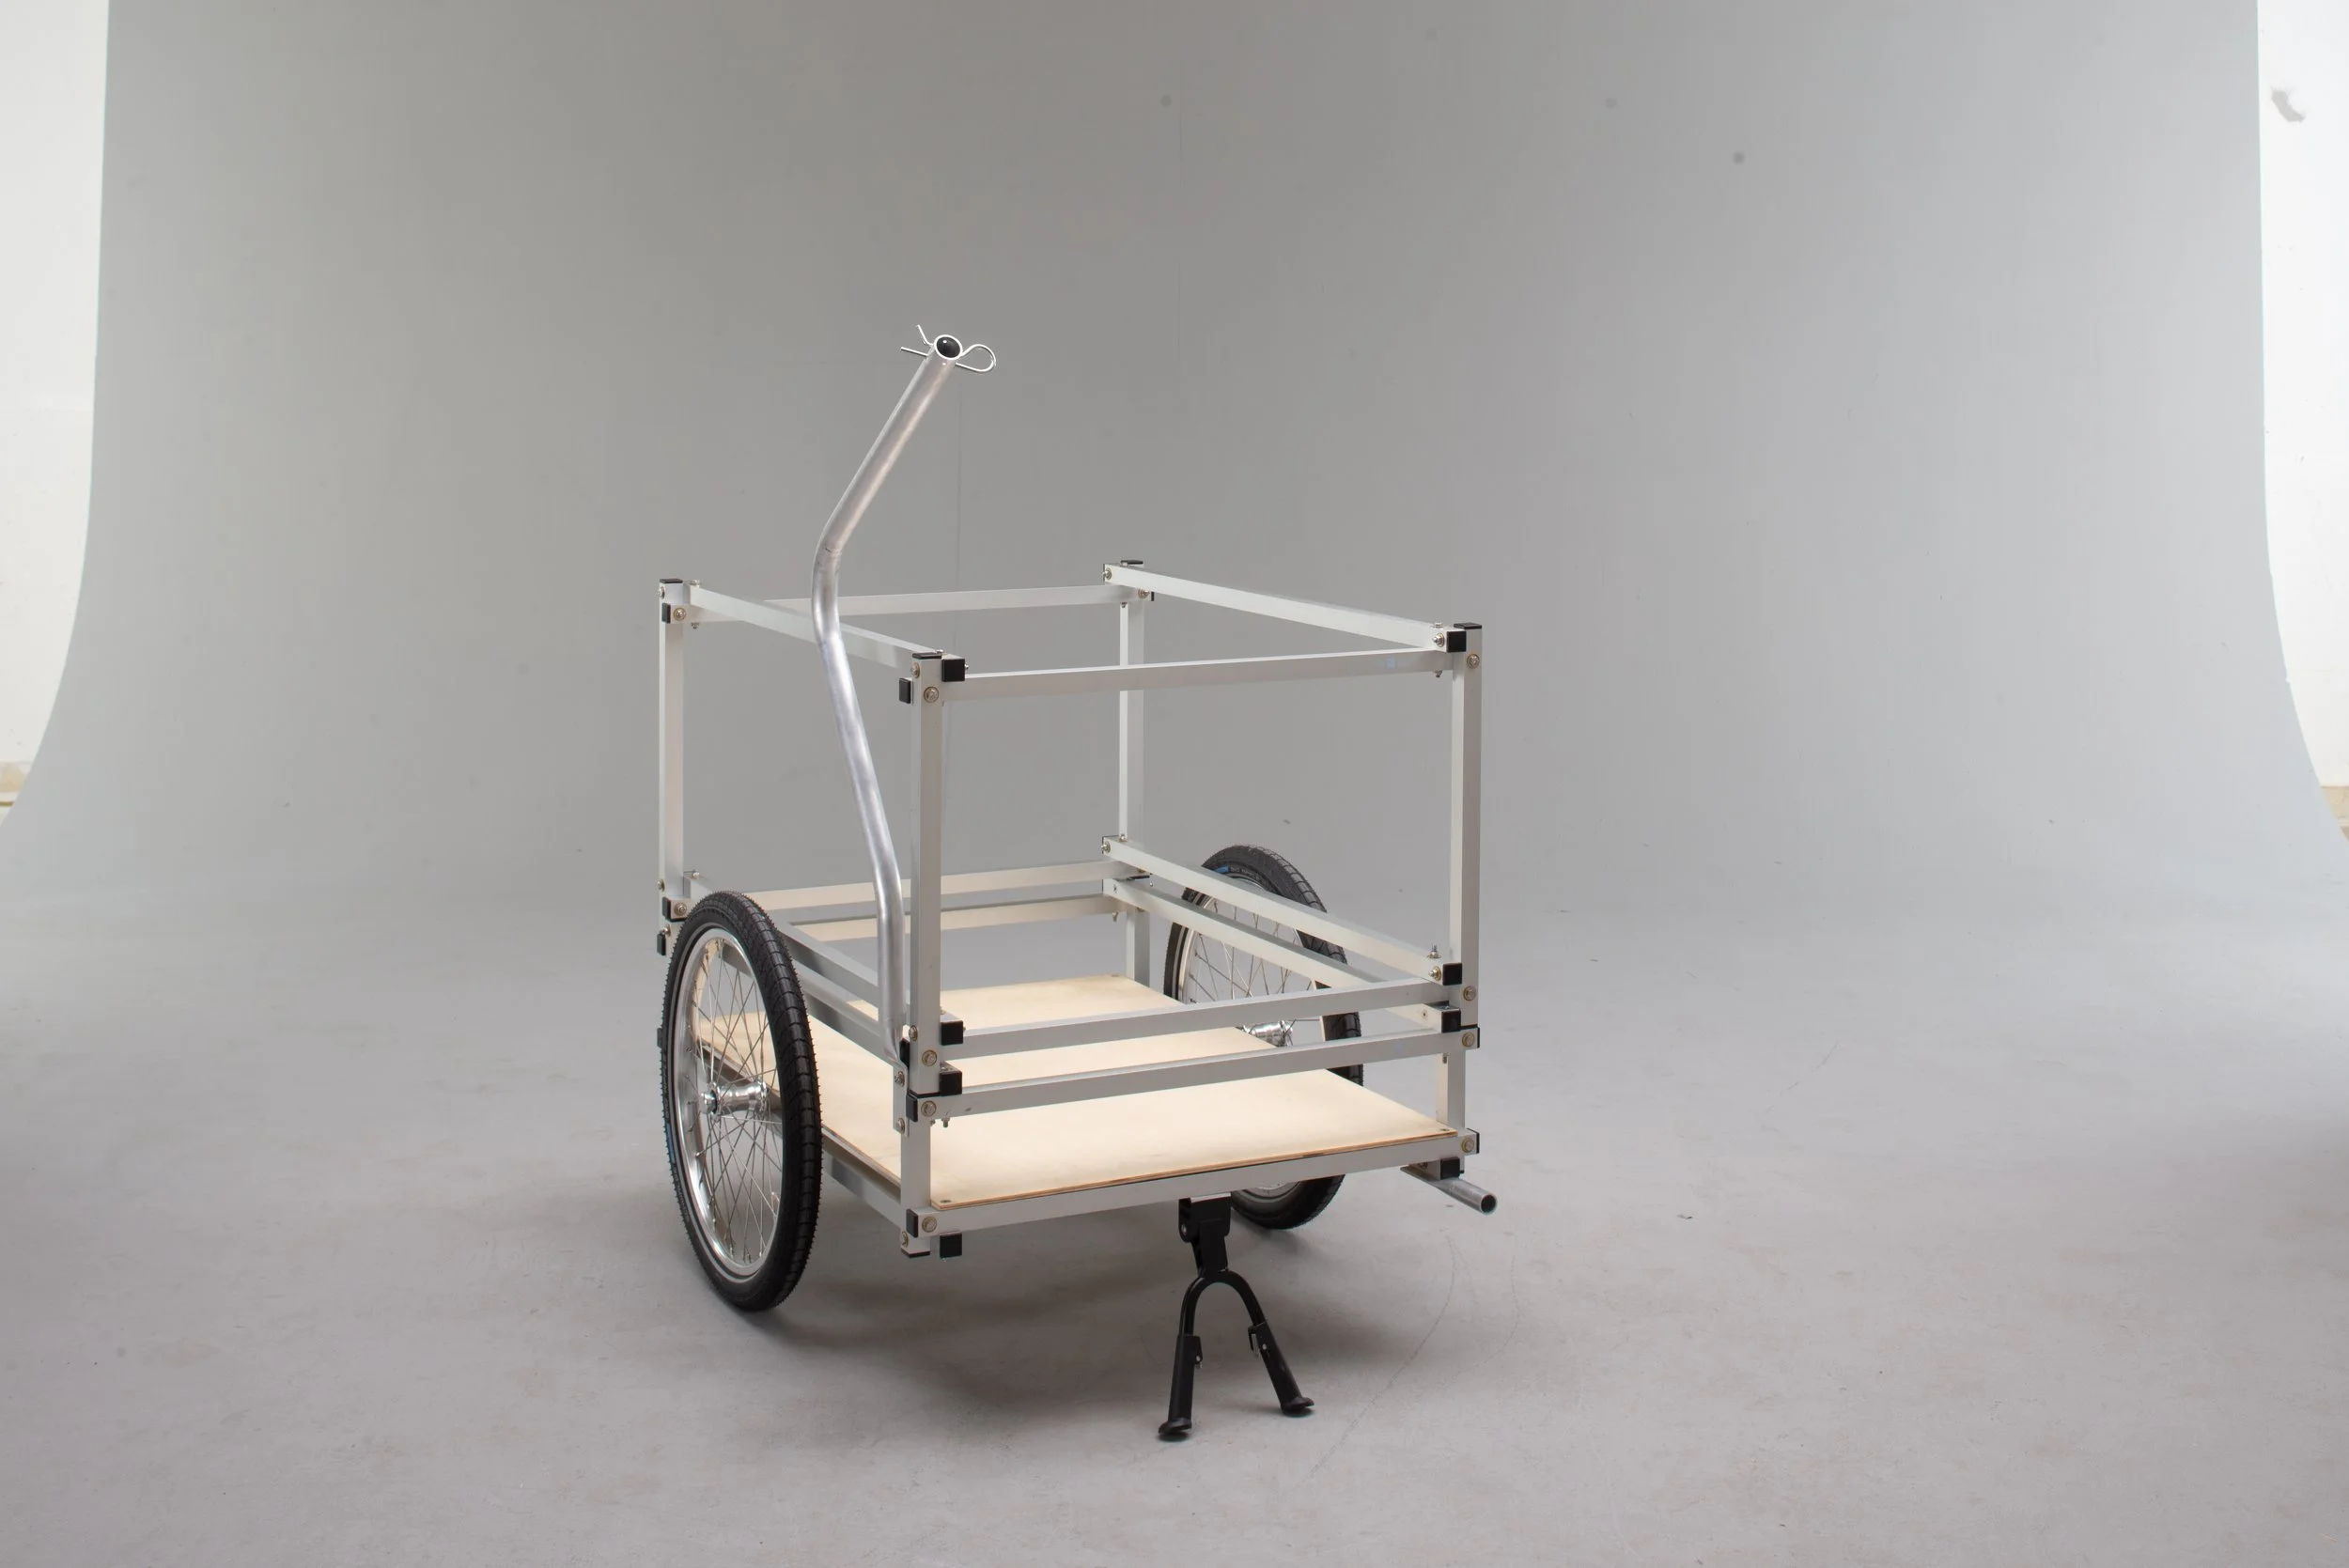
Now there are a lot of small parts that you may or may not need. Lighting is required, but the regulations vary from country to country. It’s also a good idea to plan for anchor points for tension straps. You can either cut elongated slots all around your screen-printed panel right away, or you can use our stainless steel webbing eyelets and screw them onto the panel. Of course, our tension straps with clip hooks can also be snapped into these (purely by coincidence). Side deflectors protect the outer wheels from bumping into anything when navigating tight turns. Your bike trailer especially needs its own stand if you want to secure bulky cargo or if the trailer moves around a lot while loading. This movement is very easily transferred to your bike, which can then easily tip over. Therefore: The larger the trailer (and the heavier the load), the more it needs a stand. A stand is also necessary if you want to use the bike trailer as a handcart. One more thing: With dog trailers or bicycle caravans, you also need to be able to support the trailer from the rear; for this purpose, we offer, for example, retractable stainless steel supports in our product line.
Small parts such as screws, nuts, and other items
Of course, for your homemade bike trailer, you’ll also need all kinds of fasteners to secure all the parts of the chassis and the drawbar. Please do not use wood screws for the load-bearing parts. Here, we would always use threaded screws and secure them on the opposite side with a self-locking nut. Use large washers for all screw heads and nuts to distribute the tensile stress of the screw over a large area of the wood. If you order components from us, please let us know the thickness of your base plate, and we’ll include the appropriate screws in the correct length. If you have a countersink, you can “countersink” the screws so they’re flush with the loading surface.
Can I build a suspension-equipped bike trailer myself?
Yes, you can. We also offer our suspension system as a complete unit. But be warned—this super-cool part doesn’t come cheap. Small production runs, several years of development work, and complex manufacturing in Germany drive the price up (but so does the driving pleasure it delivers). Our tip: Make this technical treat worth it by giving up your car—then the part will cost next to nothing. Here you’ll find even more information about this high-end suspension system.
Money-Saving Tip:
By the way, there are also many other examples online showing how you can build your own suspension-equipped bike trailer. The easiest option is to buy an old, used suspension-equipped child trailer and convert it into a cargo trailer. Although the suspension is rated for a maximum total load of only 45 kg and operates relatively simply with limited travel, it might be just right for your needs.
Basics of Trailer Construction
Where does the axis go? The 60/40 rule
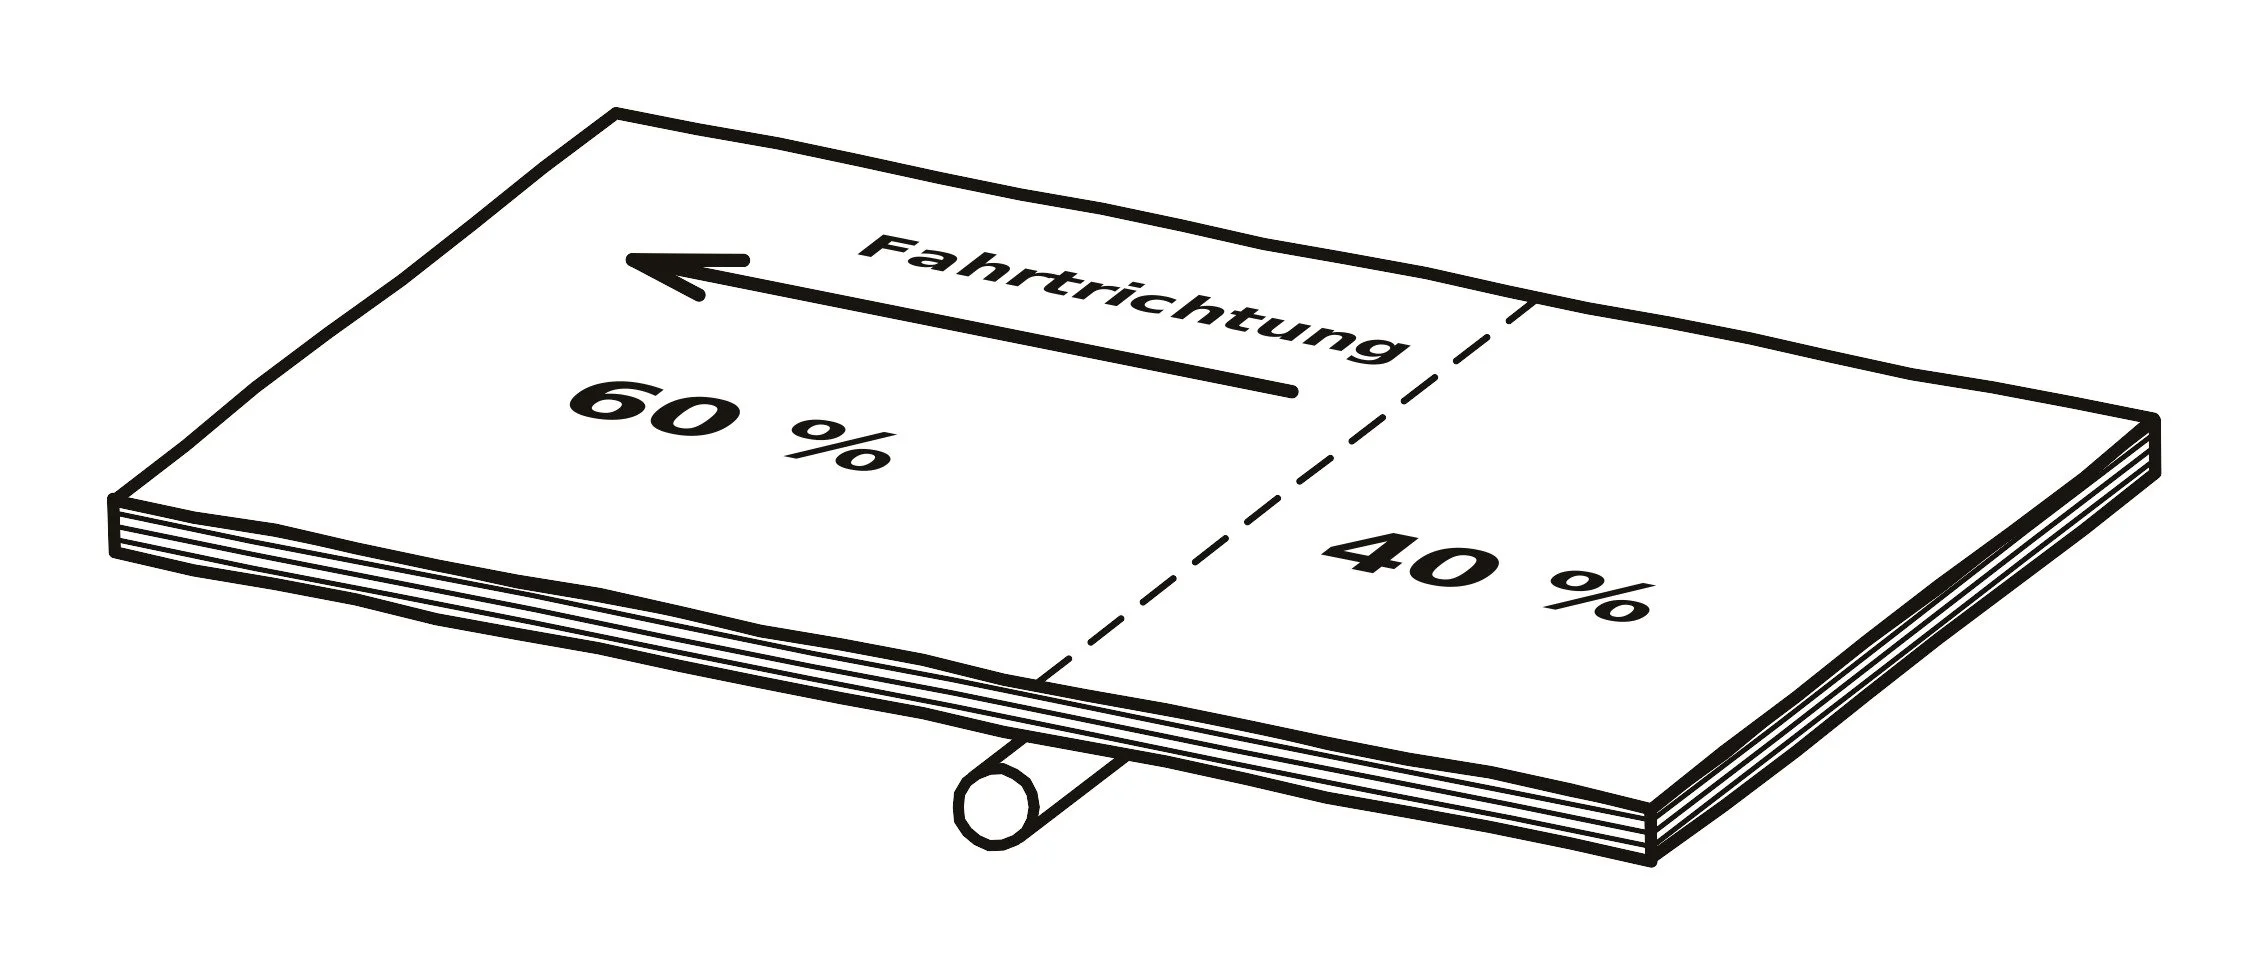
This rule applies to all-purpose trailers used to transport a variety of loads. On these trailers, the axle should be positioned behind the center of the cargo area—with about 60% of the cargo area facing toward the bicycle. This ensures that the drawbar exerts a light tongue load on the hitch. This is important for the trailer’s good handling characteristics. If the trailer is loaded with the weight concentrated at the rear, the drawbar pulls the hitch upward. This takes weight off the rear wheel of the towing vehicle—resulting in less traction and reduced braking effectiveness—and the trailer is more likely to start swaying. On bumpy roads, a rear-heavy load can actually lift the rear wheel off the ground. Heavy individual items should therefore be placed over or just in front of the axle.
When the axle on a bicycle trailer can also be offset
If you're building a bicycle trailer with a heavy battery installed at the very back—where the center of gravity is positioned very far back—then the axle position can also be moved backward. This also applies to the coffee trailer, where the same load is always securely mounted on the trailer.
How to Find the Ideal Axle Position for Your Trailer
Assuming you're not building a bike trailer with a constantly changing load, but rather a special trailer with a fixed structure or a fixed center of gravity, you can determine the ideal axle position by finding the trailer's center of balance.
To do this, you can slide the trailer assembly back and forth along a strip until it’s balanced, just like a seesaw at a playground. Now we’d position the axle slightly behind the balance point so that the trailer remains slightly front-heavy. What makes this balancing a bit tricky, however, is that with an aluminum profile construction, you’ll naturally need a crossbar at the axle’s position. You’d then have to insert that crossbar after balancing the trailer and setting the axle position. With a screen-printed panel construction, this is much easier because you’re working with a full-surface material.
Where exactly do I attach the drawbar to the trailer?
We always attach the drawbar to the far left of the bike trailer (as viewed in the direction of travel). The reason for this position is that we want to keep the drawbar as short as possible. Although the drawbar still needs to make an outward curve so that your bike’s rear wheel can swing out during right turns, this is otherwise the shortest feasible drawbar length for standard bike geometry. The longer the drawbar is, the greater the lever forces become, and the more prone it is to vibration. For this reason, we would only choose a center drawbar position on the bike trailer if there is a valid reason to do so (such as a straight drawbar for a Hase Kettwiesel trike, for example, or with our boat trailer system).
Put everything on the floor
To determine the drawbar position, we would place the trailer’s base plate on the ground and simulate the entire setup—with all components in place—behind your bike. Now you can see exactly how centered or off-center the trailer runs behind your bike by adjusting the position of the drawbar mount. Our bike trailers always run slightly off-center to the left in the direction of travel.
Does my bike trailer travel horizontally behind the bike?
That depends on the size of your bike trailer’s wheels and the size of your bike’s wheels. Roughly speaking, the bike and trailer are connected from axle to axle. The drawbar, which is about 66 cm long, connects these two axles, thereby slightly evening out any difference in height. From a technical standpoint, the tilt angles that can occur with bike trailers are usually insignificant, but as we all know, appearance matters sometimes. That’s why, upon request, we’ll also bend each drawbar so that the trailer’s loading area is truly level. Try out our little simulation tool and see how much the tilt angle bothers you with your trailer-and-bike combination. Please note: A re-bent drawbar would also be bent to the side when used as a handcart, if that’s relevant to you.
The Small Bicycle Trailer - Up to 45 kg
A small bike trailer for grocery shopping, for the campground, for a weekend ride, or for your folding bike. The minimum dimensions of 60 × 40 cm (L × W) have proven to be the ideal loading area, as that’s exactly the footprint of a great Eurobox. You should actually make the loading area a little larger—after all, the Eurobox needs some space around the edges, as well as tie-down points, and a slightly wider track width will also make the trailer more stable. We’d also equip a small bike trailer like this with 16-inch wheels; otherwise, it’ll be more prone to tipping over.
A slightly larger size would be, for example, a loading area of 72×52 cm or even 80×52 cm. Of course, you can customize the dimensions exactly to your liking here. No standard box fits perfectly on the trailer—or, if it does, there’s just a lot of empty space around it. Only with a trailer larger than 80 × 60 cm can you once again enjoy the convenience of loading two Euroboxes side by side onto the bike trailer. For us, however, that would already be a medium-sized trailer, which should be built a bit more robustly since it will carry a heavier load.
Parts List for Small Bicycle Trailers with a Total Weight of Up to 45 kg
Drawbar
For Weber clutch (option: lockable)
for Thule tow bar
with an open pipe end
Drawbar Mount
for 16-inch wheels
for 20-inch wheels
Axis
Useful Accessories
Tension Straps
with clip hooks
120 cm
250 cm
Webbing eyelets
Single webbing eyelet (upon request)
Strap Eyelet for Aluminum Boxes
Stand
Ursus Two-Legged Stand (for 20-inch wheels)
Adjustable support
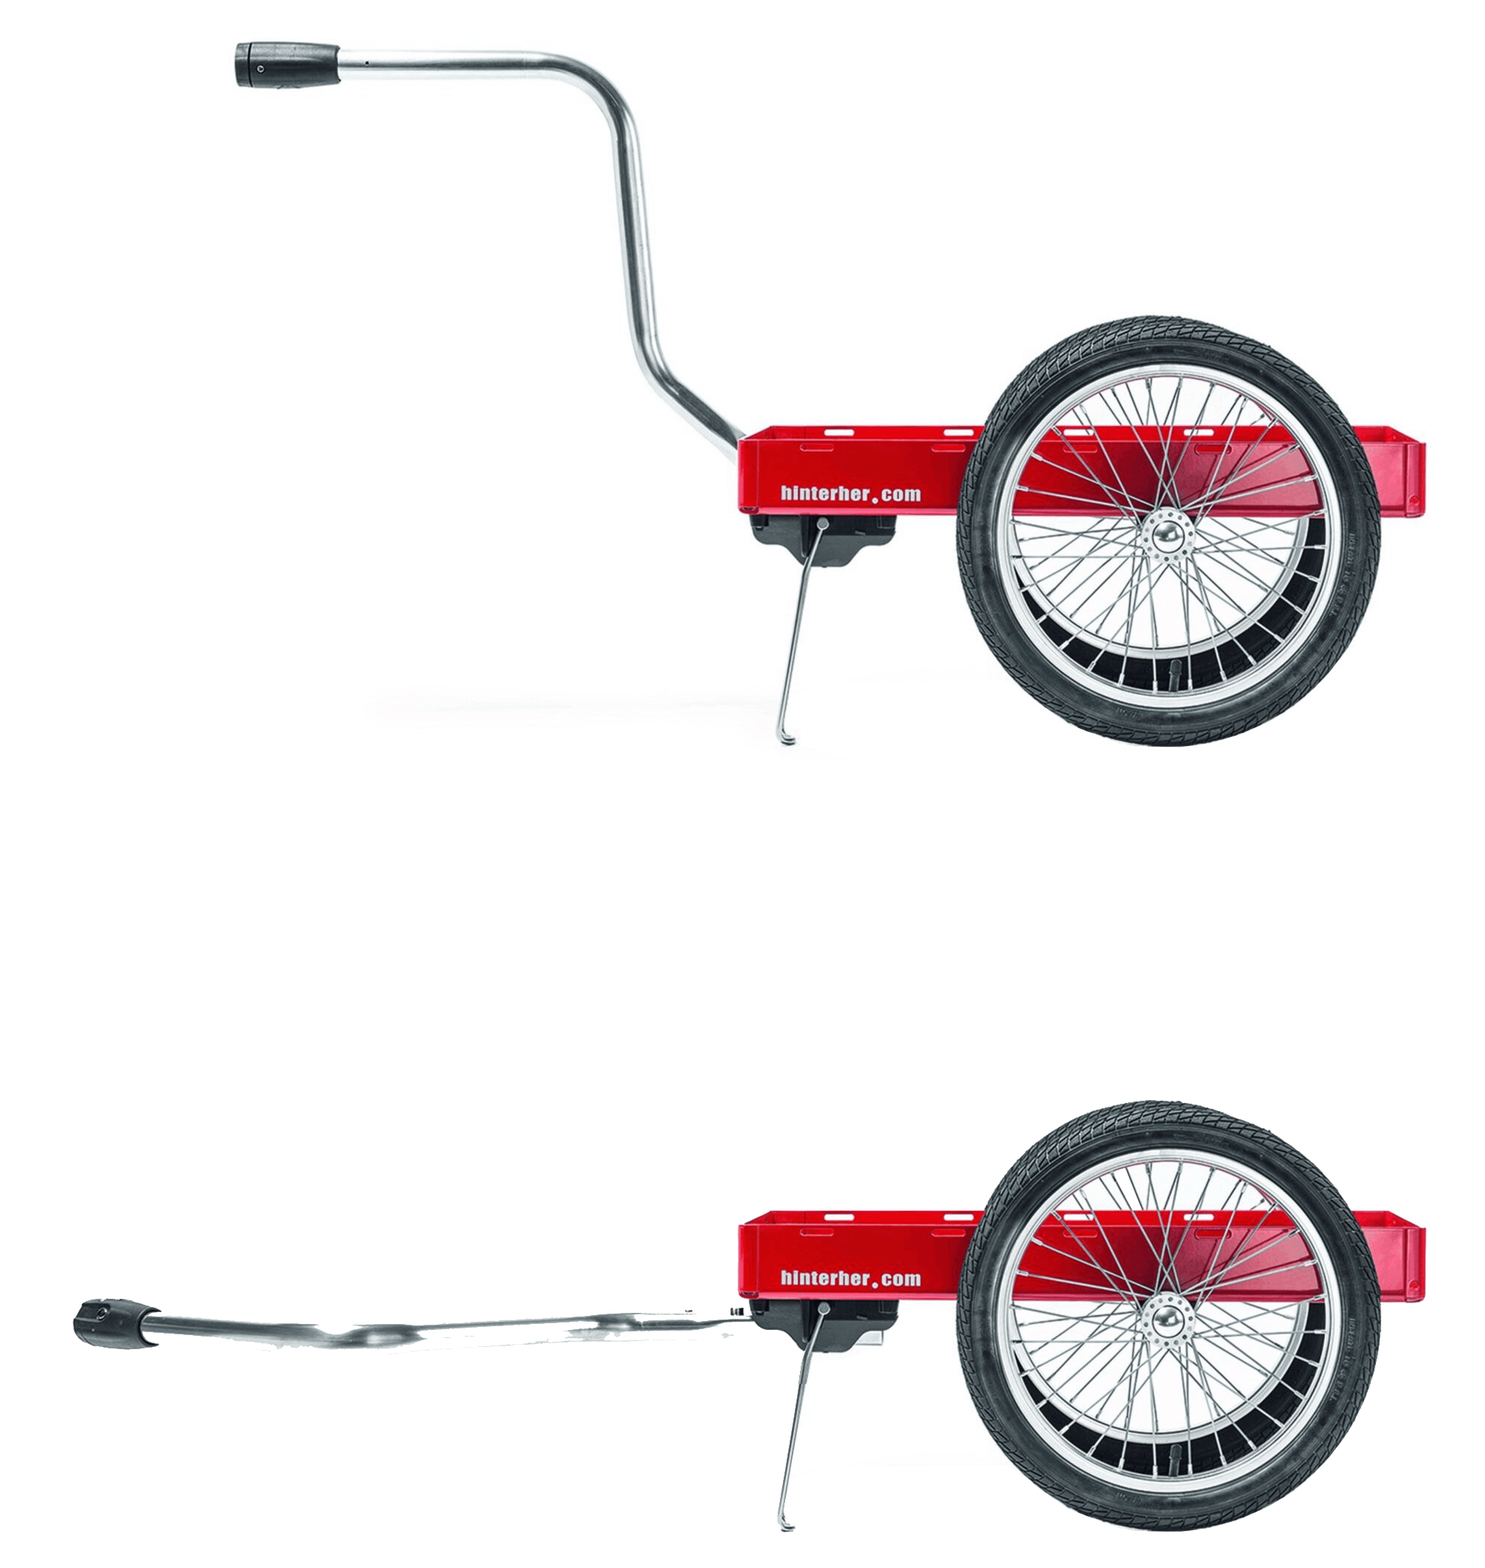
Use the trailer as a handcart?
This is only possible with our SL drawbar system for DIY builders, because on our smaller bike trailers, we enable the handcart function through two precise milled slots in our aluminum tray. So, to use this feature, you’d have to equip the small bike trailer with it from the start.
The medium-sized bike trailer—up to 65 kg
By “medium-sized bike trailer,” we mean roughly the size of a two-seater kids’ trailer (85 × 62 cm). These are true cargo champions and can haul home even massive grocery loads. Just to put that in perspective: these are cargo capacities that most cargo bikes simply can’t match. You’ve got more cargo space here than the legendary (and awesome) Bullitt. That’s quite a statement. Since the space here might tempt you to haul large and heavy loads, you’ll need to decide for yourself just how sturdy the trailer’s build should be. A maximum total weight ranging from 65 kg to 100 kg can be justified here, depending on what you have planned. And we almost forgot: The medium-sized bike trailer once again fits perfectly with the great Eurobox dimensions.
Parts List for Medium-Sized Bicycle Trailers with a Maximum Total Weight of 65 kg
Drawbar
For Weber clutch (option: lockable)
for Thule tow bar
with an open pipe end
Drawbar Mount
for 16-inch wheels
for 20-inch wheels
Reinforcement bracket for drawbar mount
Axis
Stainless Steel Rigid Axle (Note the overhang)
Terminal Block D20
Useful Accessories
Tension Straps
with clip hooks
120 cm
250 cm
Webbing eyelets
Single webbing eyelet (upon request)
Strap Eyelet for Aluminum Boxes
Stand
Ursus Two-Legged Stand (for 20-inch wheels)
Adjustable support
The Large Bicycle Trailer - Up to 100 kg
If you really want to haul a lot, this is where it gets serious. With large bike trailers, lightweight construction matters twice as much—every kilogram of the trailer’s own weight reduces the payload. Instead of a thick plate, we recommend a frame made of aluminum profiles with a thin top plate. Also: Starting with this class, the drawbar and hitch from the SL line are required for the trailer. Here, you have the choice between our SL aluminum drawbars and our super-sturdy SL stainless steel drawbars. Both drawbars use the same drawbar mount. Oh, and if you’re going to choose such a sturdy drawbar, the hitch should match it. The SL aluminum drawbars pair well with the Weber hitch system, which is rated for up to 80 kg of towing load (100 kg for the Weber ES). The only system even more robust than that is our own Hinterher hitch system.
Parts List for Large Bicycle Trailers with a Total Weight of Up to 100 kg
Drawbar
SL Aluminum Drawbar with Weber Connector
SL Aluminum Drawbar with Thule Mount
SL Aluminum Drawbar with Open Tube End
SL Stainless Steel Drawbar Rear Connection ( Extremely Sturdy)
SL Stainless Steel Drawbar with Weber Connection
Drawbar Mount
for all of the above SL drawbars
Handcart Function
SL Drawbar Mount for Hand Carts
Axis
Stainless Steel Rigid Axle (Note the overhang)
Terminal Block D20
Impeller
Thrust Bearing
in black
Clutch
depending on the selected connection type
Useful Accessories
Tension Straps
with clip hooks
120 cm
250 cm
Webbing eyelets
Single webbing eyelet (upon request)
Strap Eyelet for Aluminum Boxes
Stand
Ursus Two-Legged Stand (for 20-inch wheels)
Adjustable support

When building a bicycle trailer, there’s one enemy: weight! Not only are you building a very large base plate that spans the length of the bike, but in most cases, the trailer’s structure is also supposed to be made of rigid materials. This quickly adds up to a lot of weight, so lightweight construction is the order of the day. A lightweight bicycle trailer pays off in several ways. Since it’s a single-axle bicycle trailer, part of the total weight always rests on the bike’s hitch and frame. Braking also becomes an issue. If the total weight exceeds 100 kg, you usually need an expensive overrun braking system. In that case, the lightweight materials don’t seem quite so expensive after all. A heavy bike trailer also drains the e-bike’s battery faster, and you might even need a second battery. That’s another reason why lightweight construction is worthwhile. And, of course, it’s more fun to ride with a lightweight trailer than with a heavy one.
Two Different Paths
In our view, the classic approach to building a bicycle trailer is to use aluminum profiles. This allows you to construct a sturdy and lightweight base frame for the bicycle trailer with a manageable set of tools and minimal effort. A comparatively thin screen-printed panel (or lightweight panel) is then added on top as the outer layer. Here you can view our component recommendations for the large bicycle trailer and select the most robust version of each component throughout. We’d also recommend our retractable stainless steel supports if you want to ensure the bicycle trailer stands securely at your campsite.
There’s another way to build a bicycle trailer that’s as lightweight as possible. Essentially, you decouple two things: the chassis from the body. Our H2O System is ideal for this—it’s actually a bicycle trailer designed for transporting boats. The advantage is that the drawbar and the wheel axle are connected to each other and function as a single unit, regardless of how stable the body is. Of course, you bolt the living area to these chassis components, which makes it even stiffer, but the living area doesn’t have to withstand the forces from the chassis—only the static loads associated with using the trailer as a home. You can find a great example of this in our customer gallery, and here’s another example.
The Bicycle Trailer
Parts List for a Lightweight Bicycle Trailer Based on the H2O Boat Trailer
Low-profile drawbar
SL Aluminum Center Drawbar 1 (contributes 30 cm to the length in the direction of travel)
SL Aluminum Drawbar Extensions (Center Pin 1 + Drawbar Extensions = Distance from the front of the trailer to the trailer axle)
H2O Hull Support for Boats (to be bolted to the trailer frame)
Clutch
as needed
H2O Basic Model
without extensions
H2O 80 pull-out axis (secured with screws by us)
Training Wheels
Reinforced Schwalbe Pick Up Wheel Set
Useful Accessories
Coast-down brake?

If your bike trailer or large bike trailer needs an overrun braking system, we offer that, too. You can also get it as a DIY kit. Feel free to browse our comprehensive page on this topic or contact us.